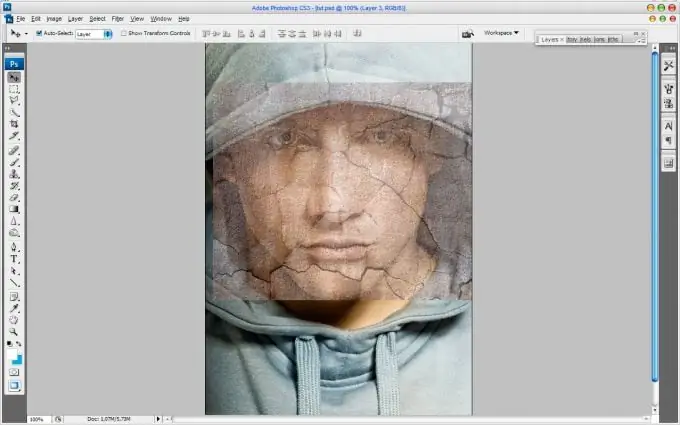
Photoshop textures are a handy tool that opens up a lot of possibilities for the photographer in processing his images. With the help of textures, you can achieve a variety of effects on photos - for example, create the appearance of a vintage, make a photo more delicate and graceful, and so on. Correct use of texture in photography can enhance its style, and in this article, you will learn how to work with texture in Photoshop.

Instructions
Step 1
Open the photo you want to process, and load one or two textures that are appropriate for the style (for example, a bokeh texture or a texture in the form of yellowed paper). Resize the texture layer so that the texture covers your entire image using the Free Transform command.
Step 2
After stretching the texture to the desired size, press Enter. Then change the Layer blending mode parameter, setting the most appropriate option - Multiply, Overlay or Saturation. Saturation with 50% opacity gives a good result.
Step 3
Duplicate the original layer and place the texture at the very bottom of the layers palette, placing it between the two copies of the background. This will soften the light effect. Experiment with changing transparency and blending modes until you are satisfied with the result.
Step 4
Add an additional texture from the selected ones by dragging it onto the original image, between the copy of the background and the first texture. Set the layer blending mode to Overlay.
Step 5
Tweak the finished version - do color correction to achieve the best color effect (for example, to increase the number of yellows and reds).
Step 6
Experiment with the Hue / Saturation and Color Mode parameters, try to apply different blending styles to the image and different degrees of transparency in relation to each other. This will help you create your photo with original effects.


