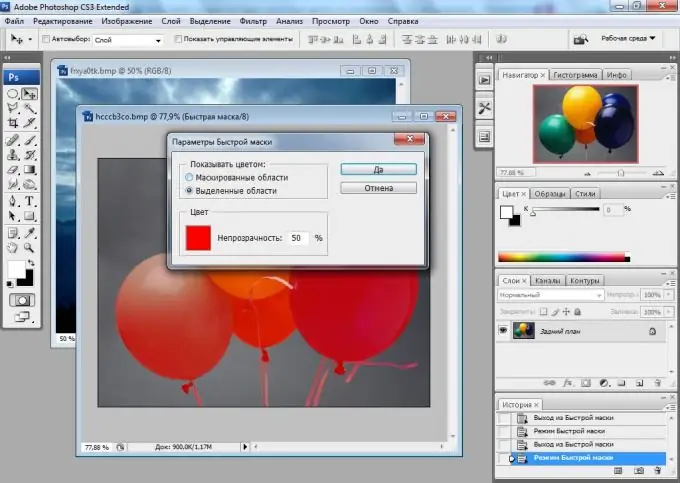
Adobe Photoshop has many convenient features that allow you to process photos and other images, creating high-quality visual effects. One of the universal tools of Photoshop is a mask. The mask is necessary for correct and accurate selection of any complex area, and it is often used as an additional grayscale channel of the image. If you have an image with difficult-to-select objects, use a mask to select objects from the main layer, so that you can then use them in a photomontage.

Instructions
Step 1
To work with the mask, use an image with complex and multifaceted paths and translucent elements that cannot be selected manually with ordinary Photoshop tools. Create a new layer, and then with the left mouse button click on the name of the main background layer, holding down the Alt key, to unlock the layer.
Step 2
Go from the layers palette to the channels palette by clicking the Channels tab to the right of the Layers tab. You will see a list of the main RGB channels, as well as the alpha channel of the black and white tints. Hold Ctrl and click, without releasing the key, on the black-and-white channel with the left mouse button.
Step 3
The channel mask will be selected, taking into account all complex and semi-transparent areas of the image. To invert the selection, press Ctrl + Shift + I. Press Delete to delete the excess, and then deselect the selection by choosing the Deselect option from the Select menu.
Step 4
Transfer the selected areas to any new layer filled with a solid background. By placing the objects cut with the channel mask on a new layer, you will make sure that all semi-transparent fragments and complex paths are selected correctly, and you have not lost a single fragment of the image.
Step 5
If you need to use the clipping image for additional montage, simply remove the background layer and then save the image with a transparent background.


