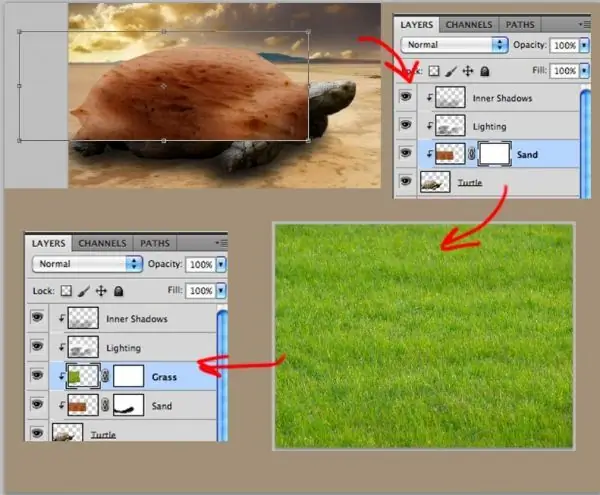
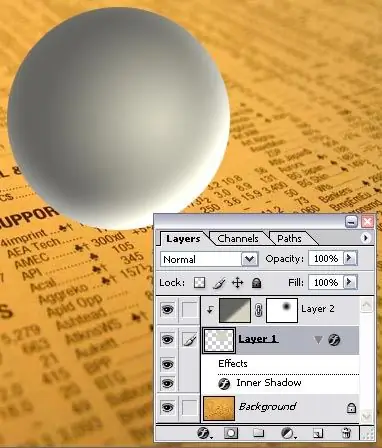
A layer mask in Photoshop is a completely magical tool. It is a grayscale channel with a black or white background and an 8-bit "weight". The mask determines which areas of the layer will be visible and which will not. It can be either monochromatic or gradient, it all depends on the choice of the artist. By applying a layer mask, you can achieve special, amazing effects. The main feature of the mask is that the pixels that have disappeared or changed under the mask are not lost, they can be returned by removing the mask.

It is necessary
Adobe Photoshop, photographs
Instructions
Step 1
To work with a layer mask, you need to create it. To do this, there is the Add Mask Layer command, the button of which is located at the bottom of the Layers palette. After executing this command, Photoshop creates a mask for the active layer. A white rectangle appears next to the thumbnail image in the Layers palette. White for a layer mask indicates opaque areas, while black indicates transparent. Shades of gray represent translucent areas.
Step 2
By applying a layer mask, you can create a montage from two photos. To do this, place the images on different layers one above the other. In this case, one image will overlap the other. Then you need to create a layer mask for the top image. After that, you can start working in the mask. To work in a mask, you must click on it with the mouse or the stylus. Then fill the entire mask with black by pressing the Ctrl + Backspace keys. When the entire mask is filled with black, it becomes transparent. Next, you can go directly to creating a collage. To do this, using a brush, paint over the area on the mask that you want to make visible.
Step 3
With a layer mask, you can create smooth transitions between two images using the Gradient tool. To do this, you need to copy the images to two different layers, and apply a mask to the top one. Then, going into the mask, press the G key to apply the gradient. That being said, it is worth checking in the property bar to make sure that the gradient is a smooth transition from black to white. To make the gradient even, hold down the Shift key and draw a line on the mask from top to bottom, starting from about one third of the image below.

Step 4
Replicated effects such as text filled with an image can also be created using a layer mask. To do this, you need to create a blank document and copy any image to a new layer. Then press the T (Text) button and on the property bar press the "Mask-Text" button. After that, you need to type the desired text and click on the button to create a layer mask. As a result of these simple manipulations, the text will be filled with an image.


