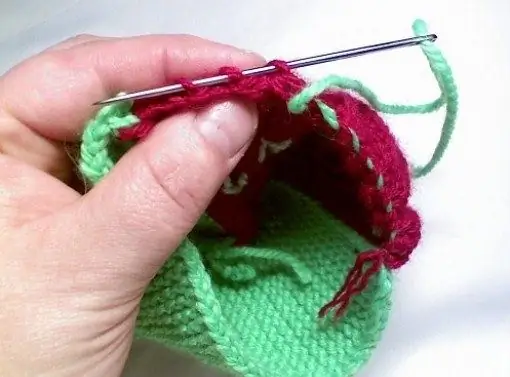
Knitting with a needle is a very ancient craft, traces of which have been found by archaeologists in many northern European countries - Norway, the Baltic States, Poland, Great Britain, Russia, etc. It was a rather laborious process, and the quality of knitting left much to be desired. Most likely, only small things were made that looked the best. But modern craftswomen, having mastered this knitting technique, make interesting and beautiful things. In total, about 30 methods of knitting with a needle are known. Here is the most famous and easiest one.

Instructions
Step 1
For knitting, prepare a flat wooden or bone needle (you can also use a metal one, but not with a very sharp end). The eyelet should be wide so that you can pull the thick yarn through it.
Step 2
The general meaning of knitting is as follows. First, you knit a chain of the desired length with a needle, then connect the last loop of the chain with the first one and get a ring of a certain diameter. The knitting will be in a circle, as socks or mittens usually knit. To the resulting ring of the first row, you add the second row, then the third, etc. And so on to the length you need.
Step 3
If you knit mittens this way, remember to leave a hole for your thumb. And if you are thinking of making socks, then you will have to divide the circle into three parts and on one third do not knit round, but add the required number of rows for the heel. When the heel is tied, go back to knitting in a circle.
Step 4
Take for a start a not very long thread (let it be, for example, up to 0.5 m long). Pass it through the eye of the needle. Make a knot at the end of the thread without tightening it. You should end up with a ring as large as your thumb.
Step 5
Press this ring with your left thumb against your index finger so that the short end of the thread is on the right and the long end is on the left of the thumb. Take the long end and wrap it once around your thumb. The working thread is now to the left of the thumb. Take it and hold it in your palms with your fingers.
Step 6
So, now you have two loops: the front one is on the thumb, and the back one is under it and is pressed against the index finger. Pass the needle through the back loop from the front right side of the thumbnail. Then turn the needle and thread it through the front loop on the left and under the working thread.
Step 7
Slip the front loop back from the tip of your thumb and press it along with the first loop. It is not worth tightening the loop very much, otherwise your knitting will be too tight.
Step 8
Pull out the needle and thread all the way. This creates a new front loop on your thumb. Thread the needle back into the back loop, turn it and thread it through the front and under the working thread. Drop this loop back and form a new front loop on the toe. Knitting of such a chain of loops must be continued to the length you need.
Step 9
Then join the last and first sts of the chain in a circle. Press the junction with your thumb against your index finger. From the working thread, which, as before, is to the left of the thumb, make a front loop.
Step 10
Pull the needle and thread from front to back through the first and last loops of the first row, turn the needle and thread it to the left and under the working thread. Cast the front thread back and then repeat everything as when knitting the first row, each time grabbing one loop of the previous row.
Step 11
When you run out of thread, you will have to extend it. To do this, divide in half the end of the thread that ends and the new thread. Insert the separated ends of the thread into one another, clamp them between your palms and rub until they fall into one piece. Then you can continue knitting.


