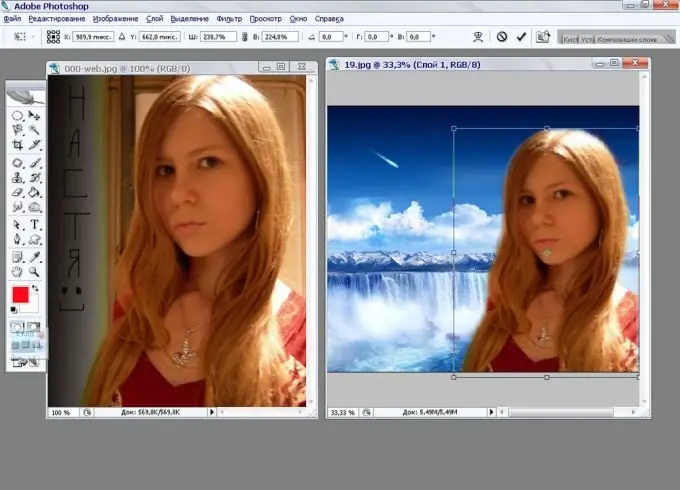
Often, after a home photo session, you can see that we came out well, but the background in the background is not at all suitable. Today we are going to learn how to cut out a picture of a person and paste it into a photo with a background that you like. The processing process will take about 10 minutes, for this you need the AKVIS SmartMask plugin. Follow our step by step instructions.

Instructions
Step 1
Open the photo in an editor. Make a copy of the layer.
Step 2
Call the plugin, with which we will cut the shape from the photo. To do this, do the following: Filters - AKVIS - SmartMask. The program will be in "Sharp" mode by default.
Step 3
Outline the shape in blue, and in red outline the background around the person.
Step 4
Start image processing. To do this, click on the green circle with an arrow, which is in the upper right corner above the photo. The human figure should now be blue and the background around it should be red.
Step 5
To see how the cut shape will look like, select a transparent background and turn off the fill and strokes. If everything triples you - great! If not, the next step is for you. We will make the hair look more real.
Step 6
Turn on the fill and switch to "Soft" mode. This mode is responsible for selections with soft, smooth edges.
Step 7
Increase the brush size to 50 and select a green pencil.
Step 8
Paint over with a green pencil those parts of the hair that the previous mode did not cope with.
Step 9
Press the green arrow again to process the image in "Soft" mode. Now it remains to get rid of the spots of the old background, which is located near the figure.
Step 10
Switch to the last 3rd mode, which we have not used yet - "Complex". With this mode we will process the photo manually.
Step 11
Select Magnifier from the toolbar. Enlarge the image and start processing problem areas.
Step 12
Switch to the mode to view the original photo. Choose the color that you need for finishing the processed photo. Using the blue and red eyedroppers, select colors in the Keep Colors and Remove Colors boxes.
Step 13
Select the Magic Brush from the Toolbox. Go to the options for this brush and select the "Calculate" checkbox.
Step 14
Start brushing through your hair. The hair now looks natural.
Step 15
Click the green checkmark above the photo to save the resulting processing. Now substitute any background, the photo is ready!


