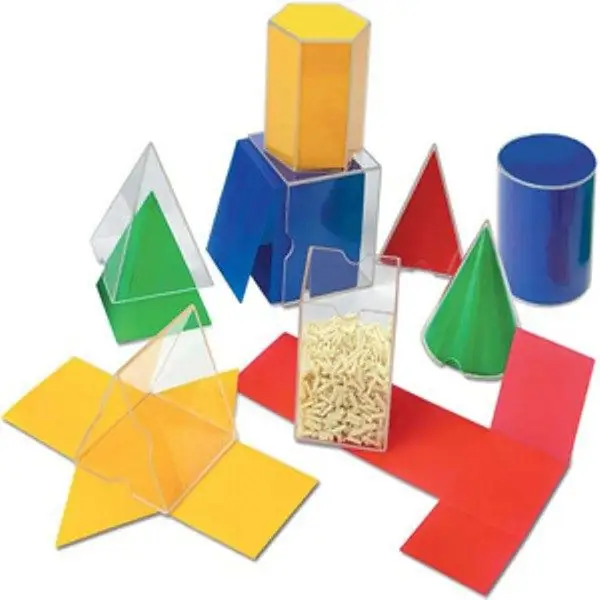
In mathematics lessons at school, students should be able to make models of the simplest geometric bodies from paper, for example, a cube and a parallelepiped. Such visual aids are used to develop children's ideas about volumetric figures and endow them with spatial imagination skills. At first, the work on constructing models of figures and geometric bodies should be done together with students.

It is necessary
- - paper or thin cardboard;
- - pencil;
- - ruler;
- - compasses;
- - eraser;
- - scissors;
- - PVA glue.
Instructions
Step 1
Prepare the materials and tools necessary for the manufacture of geometric bodies. The model will be based on a sheet of paper or thin cardboard. You will also need scissors, PVA glue, a pencil, a ruler or square, an eraser. For the manufacture of some volumetric figures, for example, a cone or a cylinder, you cannot do without a compass.
Step 2
Draw an expanded flat image of a geometric body on a sheet of paper or cardboard, guided by the previously selected dimensions. To make a cube in the middle of the sheet, first draw a square with a ruler and pencil.
Step 3
Then attach one square of the same size to each side of the square. Draw the last, sixth square so that the four elements are in one row. Draw narrow trapezoidal flaps to the sides of the square, with the help of which the elements will stick to each other.
Step 4
Use scissors to cut the resulting reamer along with the flaps. Lay the workpiece on the table and lightly trace along the places of future folds with the tip of a ruler or the blunt end of scissors. This is required to crush the fibers of the paper. After this treatment, the sheet will be easier to bend.
Step 5
Fold the flat pattern along the lines. Coat the valves with glue and connect the adjacent sides of the square with each other, pressing the gluing points with your fingers. After the glue has dried, proceed to gluing the next face. After the complete assembly of the model of the geometric body, leave it to dry completely.
Step 6
Move on to making other models of geometric bodies. When doing this, follow the same procedure. The main point of design is correct and accurate plotting of the scan. Together with the children, you can easily make a paper parallelepiped, tetrahedron, pyramid, cylinder and cone.


