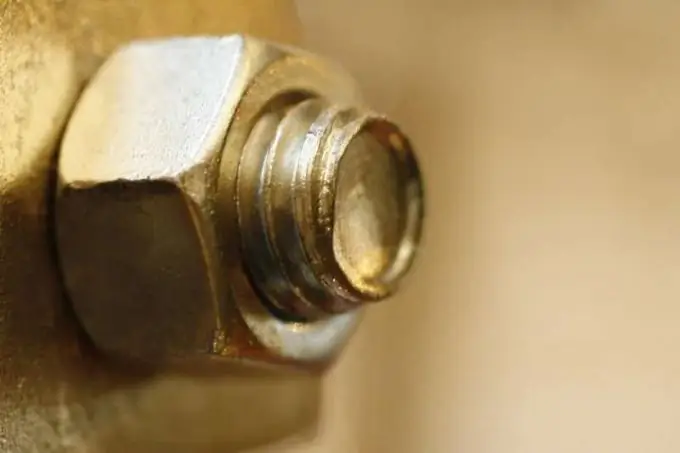
A nut is a common fastener element. It can be of several types: round, slotted, crown, cap. However, the hexagon is still the traditional form of the product, therefore, it is most often depicted in its image.

It is necessary
Pencil, compass, triangle, protractor, eraser, paint graphic editor
Instructions
Step 1
Select the desired angle. The simplest option is a top view.
Step 2
To draw a nut on a sheet of paper from the front, first mark the center of the product, put a dot in this place.
Step 3
Using a compass, draw a circle along which the points of the polygon will be located.
Step 4
Substitute the triangle with an edge to the top of the sheet so that one of its faces is perpendicular to the center of the circle, fix the points.
Step 5
Attach a protractor to the obtained points, mark the values 60 °, 120 °, 240 °, 300 ° (60 ° increments).
Step 6
Connect 6 points with straight lines in order, you should get an even hexagon.
Step 7
Take a compass and draw a smaller circle that is a threaded hole.
Step 8
Erase the edges of the outer circle with an eraser, color the product if necessary.
Step 9
In order to depict the nut in a half-turn, it is necessary to take an ellipse as a basis instead of a circle, add the rest of the visible elements that are provided by the foreshortening. These include 2-3 product edges, internal threads, chamfers.
Step 10
In the standard graphics editor Paint, you can draw a hexagonal nut in the half-turn position in a few minutes. However, such a drawing will turn out to be approximate, since it is impossible to set the required sizes of figures in the program. To do this, select a hexagon on the toolbar and draw with it the base for the nut, flattened at the top and bottom.
Step 11
Click on the circle, draw an ellipse in the center of the triangle, follow the proportions.
Step 12
From the three corners that are on the visible side, draw equal straight lines down, then connect their end points to each other.
Step 13
Use a wavy line to draw 1-2 threaded channels inside the hole.
Step 14
Color in the nut.
Step 15
To make the resulting product look more realistic, "round off" its corners with a shadow and an eraser, draw chamfers.
Step 16
More possibilities for drawing are provided in the programs Adobe Photoshop, CorelDraw, 3DS Max, however, multiple training is required to get a passable result.


