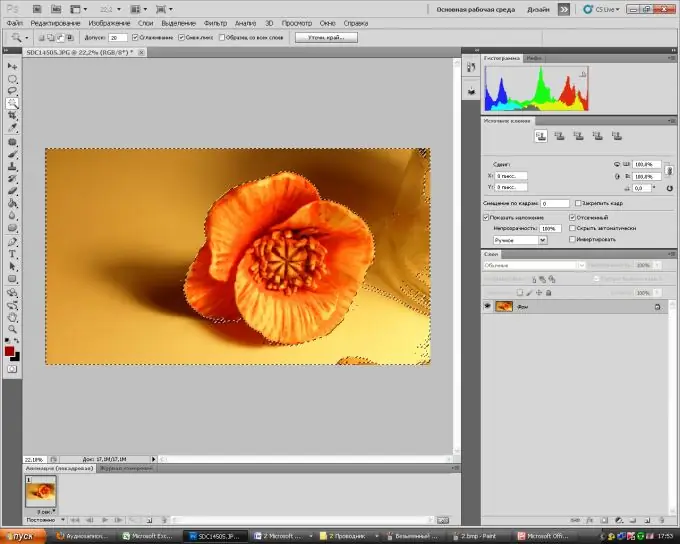
Adobe Photoshop has a wide range of tools for editing photos and creating new images from scratch. One of the main tools is the selection of individual objects for subsequent cutting and pasting, as well as for creating smooth transitions when creating various effects. This is where the ability to round edges comes in handy.

Instructions
Step 1
Open the File menu in Adobe Photoshop, then Open. Choose an image you will be working on. You can simply drag the image into the working window of the program with the mouse.
Step 2
Select "Lasso" from the toolbar. By right-clicking on the tool icon, you can select "Rectangular Lasso" or "Magnetic Lasso" from the drop-down menu. If the background of the image is solid, then you can quickly select it using the "Magic Wand" located under the Lasso tool. Select the desired area of the drawing.
Step 3
You can correct the selection boundaries using the Quick Mask tool. It is usually located at the very bottom of the standard toolbar. Using a brush or eraser, select the areas you need (the eraser will subtract the area from the selection, and the brush, on the contrary, will add). Click again on the quick mask. Now you have a selection that is as close as possible to what you wanted.
Step 4
It remains to round the edges to make the transition smoother. To do this, go back to selection mode (by clicking on any selection tool). On the top panel, you will see a button "Specify. edge … ". Click on it. In the window that opens, you can adjust the radius of the selection edges detection. Also, by moving the anti-aliasing, feathering, contrast adjustment sliders, you can achieve the degree of these effects you need. Use the Move Edge tool to make the selection larger or smaller.
Step 5
Now you can do with the selected object what you wanted - cut it out, or add an effect to the background or the object itself.


