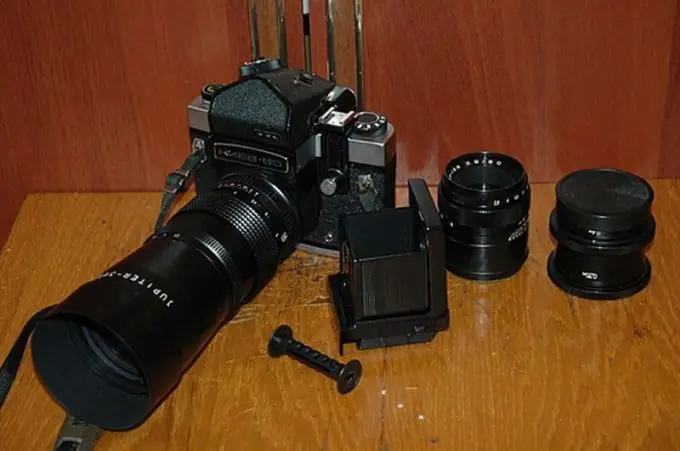
The most common type of reproduction is a photographic copy of a painting or graphic work. Reproductions are made for different purposes. This can be, for example, posting pictures on the Internet or creating an album in a typographic way. Depending on the purpose, one or another technique is used. A reproduction of a small graphic work can be performed using a scanner. A camera is required for large paintings.

It is necessary
- - wide-film reflex camera;
- - digital camera with a resolution of 8-10 megapixels;
- - a tripod with a rigid mount;
- - scanner;
- - plotter;
- - printing films;
- - computer with Adobe Photoshop;
- - a photographic enlarger with a frame for wide films;
- - photo accessories and reagents;
- - lighting technology that gives diffused light.
Instructions
Step 1
Attach the camera to a tripod. A high-resolution digital camera is sufficient to post the reproduction on the Internet. If you are preparing it for reproduction on a plotter or by printing method, take a wide-film camera with interchangeable lenses. Use a long-throw lens, as a short-throw lens will give geometric distortion.
Step 2
Attach the camera to a tripod. Please note that the planes of the film or matrix and the picture you intend to shoot must be parallel. Otherwise, perspective distortion will occur. The picture can be laid horizontally by fixing the apparatus over it. Or the painting will be on the wall. In this case, the apparatus fixed on the tripod will be turned towards it using the rotating head.
Step 3
Install lighting. The light should be diffused and even. Otherwise, glare will appear. Glare will also occur if you use flash, so this is best avoided. You can use special spotlights scattering light, reflectors or special light-scattering shields. The best option is to shoot in sunlight, as it produces virtually no color distortion.
Step 4
Aim your film camera with a microscope or microprism. Shoot with different shutter speeds. Then develop the film and print the photos. Print them as large as the size of the scanner allows. At the same time, grain should not appear on the pictures.
Step 5
Scan the image. If the size of the photo is smaller than the size of the reproduction, increase the scanning resolution as many times as you want to increase the linear dimensions. Save the image in tiff format. Process the image in Adobe Photoshop, where the image dimensions and resolution are finally set. It must be at least 300 dpi. Save in the same tiff format. If you will be printing on a plotter, you can finish processing at this point.
Step 6
When preparing a reproduction for printing in a printing house, make a color separation. Convert the image to CMYK. Save the different color layers separately, print them on film and send them to the printer. Some printing houses accept documents in electronic form, and the films are printed independently.


