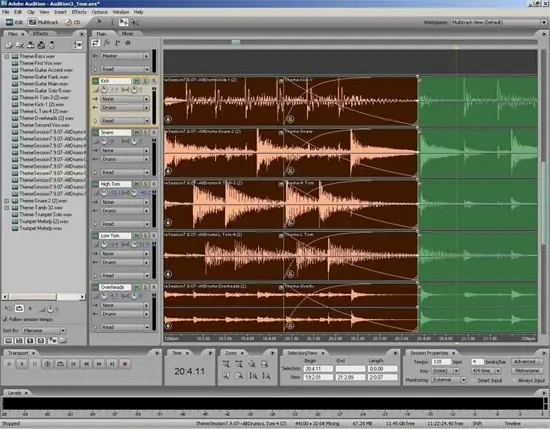
For presentations, sound design for various events, as well as for karaoke and musical creativity, you may need backing tracks or backing tracks of famous musical compositions - in other words, their melodic arrangement in which there is no vocal part. Today, you can find a lot of phonograms on the Internet, but if you cannot find the desired composition, you can extract the voice part from the song yourself using the Adobe Audition program.

Instructions
Step 1
Install the Center Channel Extractor plugin into the program. Open the audio file you want to turn into a backing track, then select the Effect menu and open the following sections: Stereo Image> Center Channel Extractor.
Step 2
In the settings window of the plug-in that you have installed, click Extract Audio From and select where you will extract the sound from - left, right or center. Listen to the melody and determine where the vocals are in balance. If it is located in the middle, select center extraction.
Step 3
Then edit the Frequency Range option to mark the frequency range to be cut, after which you can mark the voice type to make it easier for the program to determine the frequencies to extract - you can select male, female, bass voices, as well as the full range of ranges. The more accurately you know the vocal range of a track, the clearer and more accurate the program will be to remove the voice from the song.
Step 4
In the Center Channel Level item, set the level of the center channel - move the slider from -40 decibels all the way to the left.
Step 5
In the Discrimination Settings, adjust the sound of the track - clean it up and improve the sound quality. In the Crossover item, set a value between 93 and 100% so that the audio level without voice is high. In the phase discrimination item, set a value from 2 to 7.
Step 6
In the item of the amplitude discriminator, set the values from 0, 5 to 10. Constantly listen to the result of changes - adjust the values depending on how the sound of the track changes.
Step 7
In the bandwidth item, set a value from 1 to 20, and in the Spectral Decay Rate section, to smooth out the distortion of the mix, set the values from 80 to 98%.
Step 8
Once the track is tuned enough to sound decent even with the center channel cut out, save your changes.


