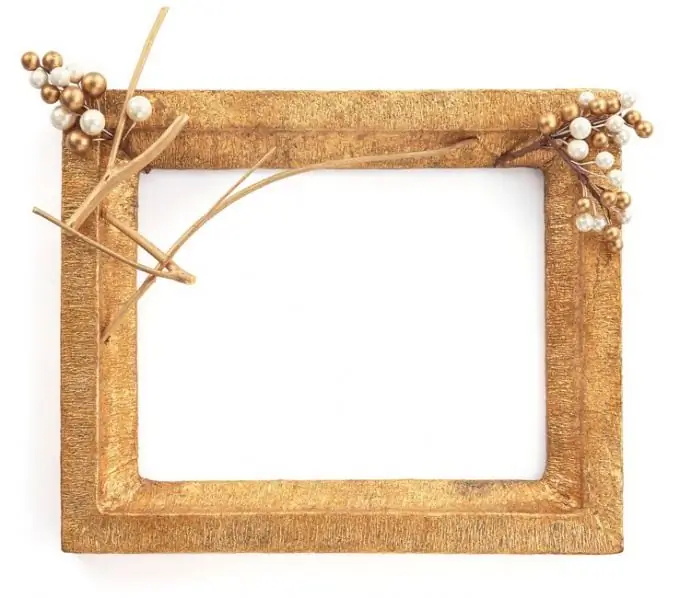
Frames for paintings and photographs from art stores and salons are beautiful but expensive. At the same time, in any apartment there is cardboard, which is a pity to throw away, and nowhere to store. Strong enough cardboard can serve as a replacement for a purchased frame if it is beautifully designed.

It is necessary
- Cardboard;
- Scissors;
- Paints;
- Ruler;
- Glue;
- Pencil.
Instructions
Step 1
Measure the painting or photograph you want to frame. Write down the dimensions. Visually evaluate whether it is large or small: the width of a narrow frame will depend on the size of the picture, for a large one - a wide one.
Step 2
Draw two trapezoids: the length of the smaller of the parallel sides is slightly less than the length of the painting, the distance between the parallel sides is equal to the width of the frame. The angles are 135 ° and 45 ° and are symmetrical.
Step 3
Draw two more similar trapezoids, where the length of the smaller sides will be slightly less than the width of the picture. Cut out.
Step 4
Fold the trapezoid into a rectangle, measure its large (outer) width and length. Draw a rectangle of the appropriate size on the cardboard.
Step 5
Glue three trapezoids out of four around the perimeter (up to the middle or slightly above). Glue the top or side only along the edges so that the picture can be passed through it. Check immediately after the adhesive is dry.
Step 6
Color in the frame, preferably in soft colors, in harmony with the range of carina.


