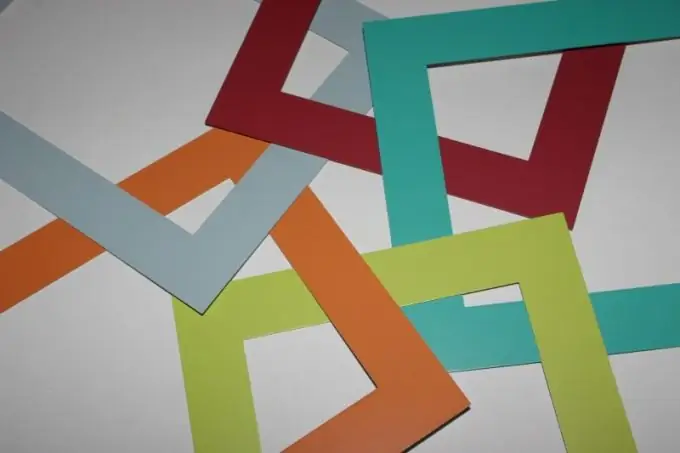
Even the most beautiful picture will look lonely on the wall if it is not properly decorated. In order not to spend money on buying ready-made frames, make them yourself. You will be able to take into account the custom size of the image and its color scheme, which will allow you to create the perfect frame for every picture or photograph.

Instructions
Step 1
Take a large piece of plywood or very stiff cardboard. Measure the picture you want to style. Draw a rectangle of the same size on the wrong side of cardboard or plywood.
Step 2
Consider whether the painting will simply be framed or if it needs a mat. If you chose the second option, determine how many centimeters of white space should be around the picture. Add appropriate "allowances" to the canvas from the canvas.
Step 3
Determine the required width of the frame itself. It depends on the style of the drawing or photograph that will be inside. Draw a box like this around the drawing. Cut or saw out the workpiece.
Step 4
If you want to make a mat to make the picture look better, choose its color. Place paper of the desired shade under the picture and see how its perception changes. If a colored background draws attention to itself or the drawing is lost on it, it is worth looking for another option. On paper of the desired shade, circle the base and cut out the same shape. Stick the paper onto the plywood or cardboard, spreading the glue dotted around the perimeter.
Step 5
Divide the upper side of the workpiece in half. Make a hole and attach a loop of fishing line in it so that the picture can then be hung on the wall. The hinge attachment point must subsequently be closed with a frame.
Step 6
Prepare wooden slats for the frame. Saw them into four pieces the same length as the sides of the base. To line up the staves at the corners, draw a 45 ° line from the edge of each stake. Saw off the corner of the board along it.
Step 7
Align the frame by laying out the blanks on the base. If you are satisfied with the result, glue the strips to the backing. Using a thin line, apply the glue from the glue gun to the first plank and align with the edge of the base. Lay out all the details one by one. You can stick a picture into the dried structure.
Step 8
Complete the frame without a mat with image mounts. To do this, in its corners, stretch a thin wire or strips of cardboard, into which, like in the corners of a photo album, you can insert a picture. These attachments must be glued to the back of the battens before you attach them to the substrate.


