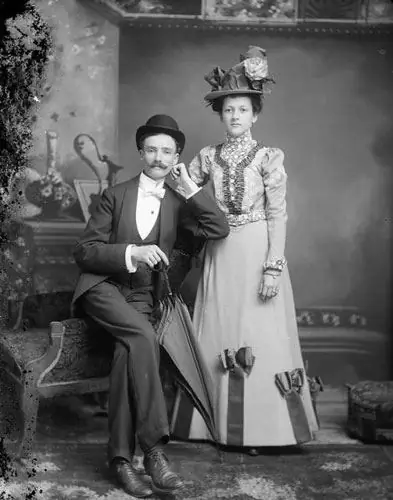
Among the various effects and methods of modern processing of photos in Photoshop, the effects of retro photos and vintage images are especially popular - the effect of antiquity will turn even the most ordinary photo into a stylish artwork that will undoubtedly attract the attention of any viewer. To create such a photo, you will need some basic Photoshop skills.

Instructions
Step 1
Download templates with the texture of old photographic paper on the Internet - it is easy to find them, and they are freely available. If you are using a template to age a photo, the process of photo processing will take you very little time. Open the photo you want and then open the PSD template. Set the visibility of all layers by clicking on the icon with an eye.
Step 2
In a color photo, using any selection tool, cut out the person's image, and then right-click on the selected area and select the layer via copy option. The selected object will be transferred to a new layer.
Step 3
Move the new layer down so it is under the old paper template layers. Open the Edit menu and select the Free Transform option. Change the angle, rotation and size of the image to match the aspect ratio of the image in the template. Resize the photo to fit the template and then color correct. The old photo is ready.
Step 4
You can also age the photo manually without using ready-made templates - for this, download and install in Photoshop special brushes that simulate cracks and scuffs of old photos. Open a color photo in Photoshop and open the Image menu. Select the Adjustment> Hue / Saturation section.
Step 5
Adjust the hue and color saturation as desired, desaturating your photo and lowering the saturation of colors. Don't make your photo black and white - just lower the brightness to create the effect of a faded photo.
Step 6
Create a new layer and fill it with white, then open the filter menu and select the Add Noise filter with a value of 20%. Set the fill of this layer to 20% transparency - the photo will look even more like an old photo.
Step 7
Create a new layer and fill it with a lighter reddish brown shade. Place this layer at the top of the layers palette, then use a large eraser to erase the layer in the center of the photo so that the dark color remains at the edges. Reduce the opacity of the layer. Enhance the look of your photo with aging brushes.


