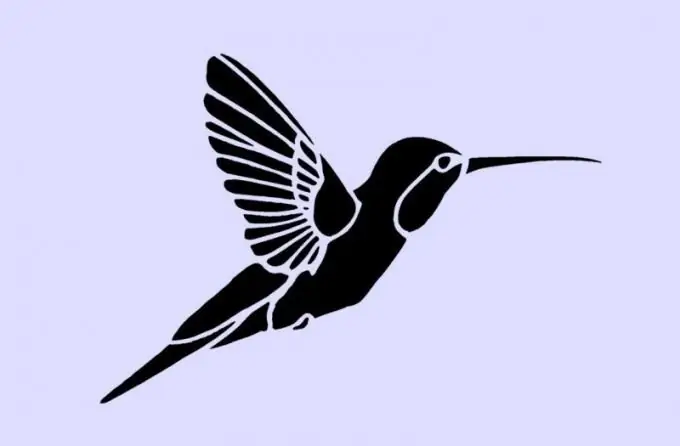
The stencil allows you to quickly make a large number of identical patterns. As a rule, the airbrushing method is used - the paint is sprayed from an aerosol can. Making a stencil is quite painstaking, but the process can be accelerated using a computer.

You must have a good understanding of all the steps involved in creating a stencil. First, the original drawing is selected or created independently, then it is changed for the technology of applying paint on a stencil, this is the most complex and responsible process. Then the stencil blank is printed on the printer, and, last of all, unnecessary areas are removed from the stencil with a sharp scalpel.
Creating a stencil pattern
Not every drawing can be organically transformed into a stencil. Looking at the picture, you need to imagine how it will look in solid color, which areas will be visible and which will not. This is a real art that requires a lot of experience. Therefore, it is better to learn how to make a stencil on some simple drawing or text inscription.
You can create a stencil in almost any graphics program - for example, Photoshop is perfect. First, set the size of the canvas in accordance with the size of the future stencil, then place a picture on it, you can use the insert option. Resize the inserted image as needed. After that, determine which parts of the picture will be cut out - paint over them with some color, for example, black.
Having painted over all the areas to be deleted, see if it turned out that some of the elements of the stencil were completely cut off from the base. For example, in text stencils, the middle of the letters "O", "P", "B", etc. may fall out. In this case, provide thin bridges between it and other areas of the stencil. The same applies to long lines - if, for example, you are making a stencil of a rose, then a long stem will cut a sheet of paper. Such a stencil will be fragile, so it is necessary to provide several ties on the stem.
After the final design of the design, print it on a sheet of white paper. Take a look at the picture - is it getting the effect you wanted to achieve? What looked good in the original drawing doesn't always look good as a stencil. If something about the stencil layout is ugly, think about how to change it.
Stencil cutting
The stencil is best printed on photographic paper. The paint will be applied from the side of the gloss: when you remove the stencil, you can easily wipe off the traces of paint from it with a sponge. This will not work with ordinary paper or cardboard, they will get wet and warp.
After printing the stencil, a very important operation begins - cutting out the painted areas. The stencil is placed on a sheet of cardboard or linoleum and the scalpel is very careful to remove unnecessary areas. Alternatively, you can use sharp nail scissors, they do a good job with this task.
When cutting a stencil, be careful to keep the lines clean. They should be smooth and free of burrs. Any violations of the lines will be reflected in the drawing made using the stencil.
If the finished stencil warps a little, put it in a book for about a day and press down with a load. After that, it will become completely flat and usable.


