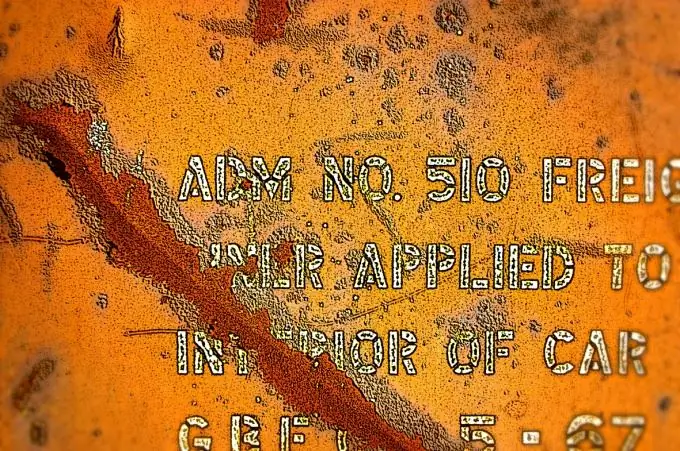
The word "stencil" comes from the Italian traforetto, which literally means "perforated plate". Hence the classic stencil technique - a dense material is taken, on which a certain image or text is first drawn and then cut out. The stencil can be reused and the lettering or drawings look the same. You can make a stencil of a specific inscription that needs to be translated many times, for example, on T-shirts. But you can also make an alphabet that will be used for different purposes.

It is necessary
- - computer with internet;
- - Printer;
- - paper for printer;
- - cardboard or plastic film;
- - clerical or boot knife;
- - carbon copy;
- - ballpoint or gel pen;
- - board.
Instructions
Step 1
And for the stencil of a specific inscription, and for the stencil of the alphabet, choose a font. You can find it on the Internet, or you can draw the letters of the desired shape yourself. If you don't need a particularly sophisticated font, you can use the ones built into Word. In this case, go to the font window on the top panel and select the one you need. Select the inscription and set the desired font size. After that, just print the sheet.
Step 2
You can choose a more elegant font. Download it from the Internet. In this case, the inscription is more convenient to process in Photoshop. Go to the menu, which is indicated by the letter T. Make the desired inscription and print the sheet.
Step 3
Translate the text onto cardboard or plastic. In order to translate the letters onto cardboard, you need a carbon copy. Place a sheet of carbon paper with the colored side on the cardboard, place the printed sheet on top and circle the letters with a simple pencil or ballpoint pen. If there is no carbon copy, the letters can simply be pressed through with the same ballpoint pen (even better if with an empty nib). You can do the same with opaque plastic.
Step 4
It is better to do otherwise with transparent plastic. Fill the letters with dark paint before printing the sheet. Place a sheet and a piece of plastic on top. If a ballpoint or gel pen draws on this head, circle the letters. If not drawing, take a knife or needle and scratch out the letters. Do not forget to make jumpers for those letters in which the outline limits some kind of internal space. There should be at least two jumpers.
Step 5
Cut out the letters. The cardboard stencil can be cut with sharp scissors. Stick the end of the scissors into the part of the surface that you will cut, bring the cut to the line and then cut straight along the line. If you stick the end of the scissors straight into the line, the cut will be crooked. It is better to cut the plastic with a sharp knife on the board.


