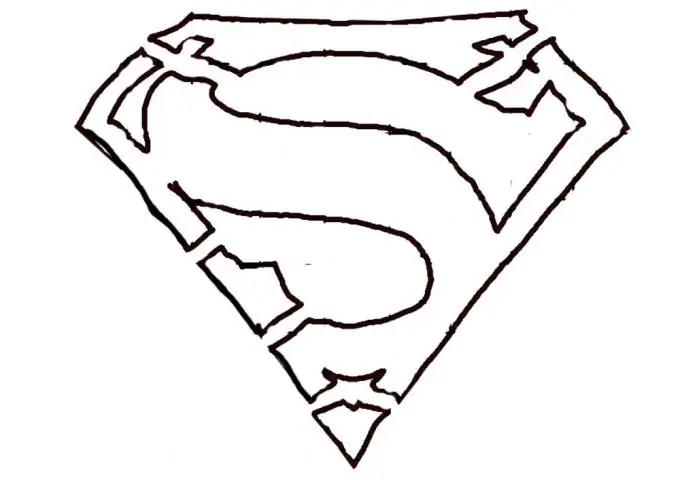
Making stencils is a fairly simple task. Even a beginner in graffiti and painting can do it. The stencil can be done using simple improvised means that everyone probably has. How to make a stencil in stages, how to make it more wear-resistant and durable, as well as how to make a simple disposable stencil, you will learn from this article.

It is necessary
Pencils, paper, marker, tape, ruler
Instructions
Step 1
First you need to make a sketch for your future stencil. If you are planning to make an inscription. The first step is to come up with a letter design. If you already have experience in calligraphy, you can come up with them yourself, but if you have not done this before, it is better to look at the examples first, copy the one you like. Expressive letters will look better.
If you are going to transfer a picture to a stencil, find one that is not too complicated to begin with. A simple laconic picture, without unnecessary details, can look very expressive and stylish.
It's easier to start with small sketches. Make one, two or three versions in A6 sheet format. If you come up with a sketch yourself, never stop at the first option, even if you still like it. Having done a couple more, you will most likely give it up.

Step 2
After you have come up with a sketch, take a sheet of thick Whatman paper, and cut it to the desired size. You can also use cardboard, hardboard, linoleum, and even thin three-millimeter plywood.
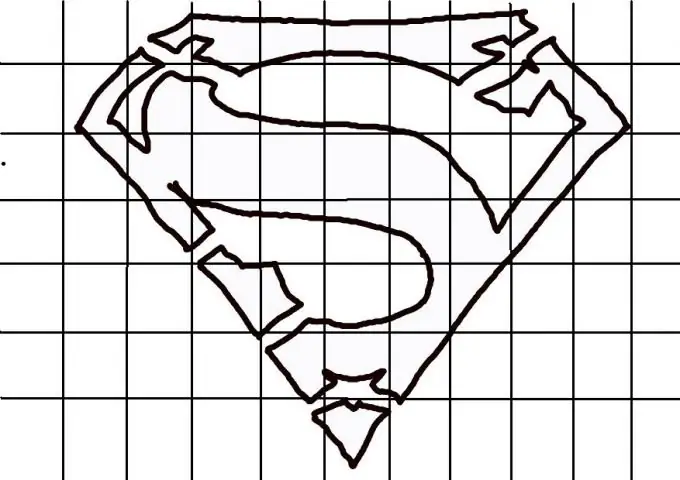
Now you need to transfer the sketch to the sheet. There are several ways. If you are confident in yourself or have been drawing before, you can transfer the sketch by hand. But when you need to enlarge a sketch many times, a more reliable way of accurately transferring a sketch to cardboard comes in handy. It has been used since ancient times. Mark your sketch with a ruler into equal squares. You should now have a kind of mesh. The more squares there are, the more accurately you will transfer the drawing.
On a piece of paper, the future stencil, mark the same number of cells. For convenience, cells can be numbered. For example, letters vertically and numbers horizontally.
After you transfer the sketch to the stencil, circle it with a marker.

Step 3
Now you can start cutting the stencil itself. It is best to use a good dummy knife with a lock for this. It will be extremely inconvenient to do this with scissors. In order to make it easier and faster to cut straight lines, you can use a metal ruler.
If you want to make your stencil more durable and moisture resistant, then before starting, glue it, on both sides, with transparent tape. Also, for more convenient use and increasing wear resistance, you can attach ordinary wooden rulers to the sides of the stencil.


