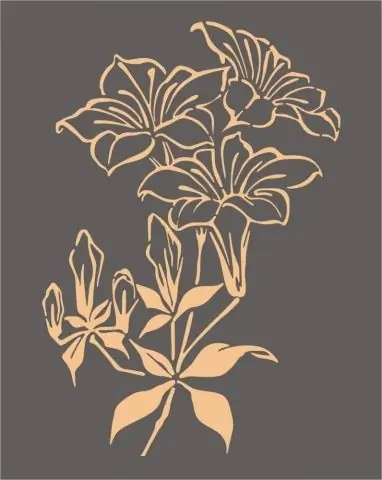
Sometimes in the process of creativity there is a need to apply some kind of drawing, but not everyone can do it by hand - not everyone can draw. In this case, stencil technology can come to the rescue. You can find a ready-made pattern in a book or on the Internet, transfer it to paper and make a great stencil.

Instructions
Step 1
Make sure you have everything you need for the job: - The paper on which you will need to draw the sketch. Printer paper or a landscape sheet will do.
- Transparent tracing paper.
- Cutter (stationery knife), very sharp.
- Pencil, ruler, eraser.
Step 2
Sketch your stencil on a piece of paper with a pencil. Think over the pattern very carefully, pay special attention to the thin bridges. Remember that if you make them too thin, the stencil may tear in these places in the future.
Step 3
If you want to use your stencil more than once, but several times, then transfer the finished pattern to cardboard. Remember that cardboard should not be corrugated or coated. It is best to take cardboard from boxes in which cereals or cereals are sold.
Step 4
Use tracing paper and carbon paper to transfer the drawing. After transferring the drawing to cardboard, circle it with a ballpoint pen or felt-tip pen so that the line along which you will cut the stencil becomes clearer.
Step 5
Now, so that the paint does not absorb into the stencil during work and does not spoil it, as well as for overall strength, take a wide adhesive tape and glue the cardboard with the stencil with it. In the future, glue the edges of the stencil again, while wrapping the tape in the other direction - this will give the stencil strength and it will be more convenient to work with it.
Step 6
Now take a cutter or utility knife and carefully cut out the stencil. It's good if your stencil pattern is symmetrical - in this case, you can simply fold the stencil in half in the center and cut it out only once.
Step 7
When cutting along the contours, put the stencil on a hard, even surface, it is best to put something that you do not mind spoiling, because you will cut through and through.
Step 8
When cutting, be very careful - do not cut yourself, firstly, and secondly, try not to cut thin bridges in the pattern, so as not to spoil it. After you have made the stencil, you can glue the rest of its edges with tape, just do it carefully so as not to spoil the drawing.
Step 9
Using such a stencil, you can apply a pattern with any paints and anywhere, the main thing is that the paints are not too liquid and do not flow under the stencil. For application, it is better to use a spray bottle or foam sponge.


