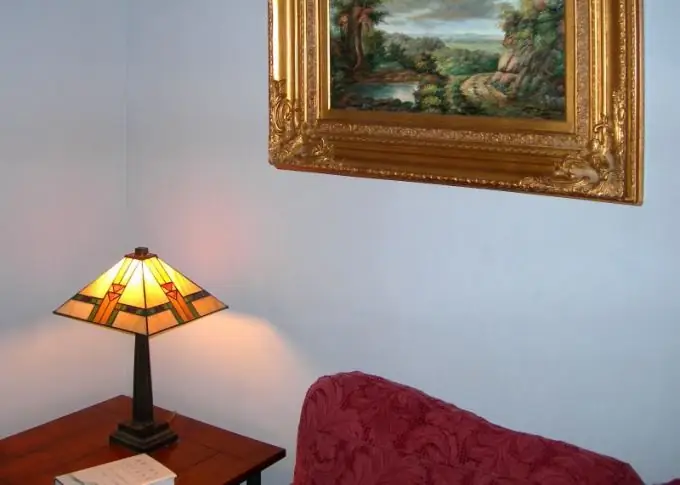
The term baguette comes from the French word “baguette”, which means “stick”. In the explanatory dictionary of D. N. Ushakov, the following definition of a baguette is given: it is "a carved or painted strip for making frames or decorating walls." A baguette frame is made from a wide variety of materials: wood, plastic, aluminum. Home craftsmen can make it from almost any available materials.

It is necessary
- - cardboard;
- - ceiling plinth;
- - ceiling tiles;
- - glue;
- - ruler;
- - pencil;
- - miter box;
- - stationery knife.
Instructions
Step 1
Measure the size of the painting (reproduction, photograph, embroidery) that you want to frame. Draw a rectangle on the cardboard equal to the size of the image plus a few centimeters for the mat. Instead of cardboard, you can also use polyurethane ceiling tiles.
Step 2
Cut out two rectangles that are the same size. Draw a rectangle inside one of them, spaced an equal distance from the edges. Cut it out with a straight edge with a sharp utility knife. One rectangle is the base for the frame, the second is the part for the mat.
Step 3
Cut 4 frame blanks from the ceiling plinth. The edge of the plank should be cut at a 45 degree angle. Use a miter box to keep them even and neat, and to move the work faster. If you do not have such a device, then mark the corner with a square or protractor.
Step 4
Now collect all the parts. Fold the moldings for the baguette with the corners to each other. Cover them with ceiling tile adhesive. Let sit for about 5-10 minutes, join the corners, press firmly and secure with pins. Leave to dry completely.
Step 5
Apply glue along the edge of the frame base (on three sides) and glue the mat. Then attach the molding from the baseboard in the same way. Secure all parts with pins and let dry completely for 24 hours. The frame is ready. Paste the image into it through the unsealed side.
Step 6
To make the frame impossible to distinguish from the real one, paint it with acrylic paints from a spray can. Pre-prime the surface with several layers of PVA glue so that the structure of the foam is not visible. You can make a rich gold frame for a picture, and a simple solid color frame for photography or graphics. Trust your imagination.
Step 7
Attach a piece of wire to the base of the frame and hang it on the wall, or just pin it to the wallpaper with pins. Since the polyurethane is very lightweight, the frame will not fall off.


