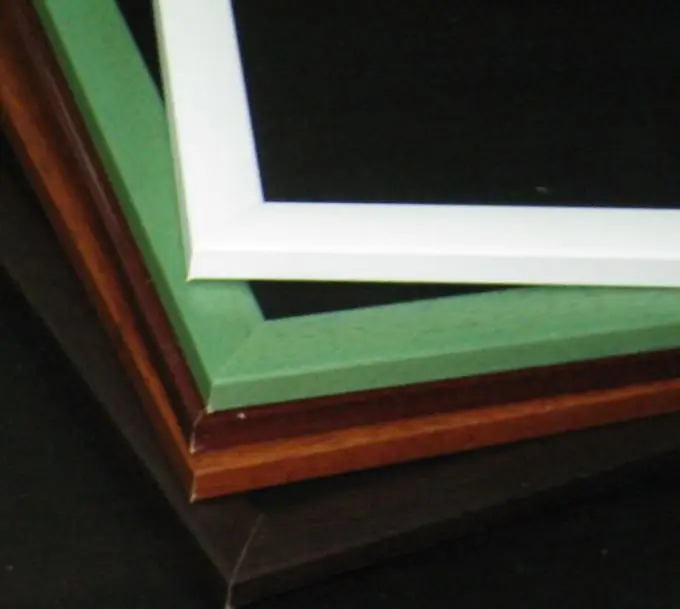
It is customary to decorate a house with a variety of things, including photographs and drawings, but they need a good frame. There are many ways to make your own decorative frames from a wide variety of materials found in the home.

Instructions
Step 1
To get a cardboard frame, cut 2 rectangles out of cardboard a couple of centimeters larger than the photo itself. In one piece of cardboard, cut a hole slightly smaller than the photo or drawing to hide the edges inside the frame.
Step 2
Fasten both cartons in such a way that the selected photo is included in the remaining non-glued place. You can also use a stapler for stapling. For a better perception of the image, you need to make the frame field at the top a little narrower than at the bottom.
Step 3
Next, decorate the cardboard surface. The front side of the frame can be made attractive in different ways: glue decorative paper, the remnants of thick wallpaper with a suitable pattern, beautiful dense fabric, paint it with paints, decorate the frame with sparkles, buttons - in general, everything that can be found on the farm. Small photographs or drawings can be beautifully framed with thick metal foil or copper for embossing. A frame with side edges must be completely cut out of such material. The width of the side edges should be equal to the sum of the thickness of the photograph and two sheets of cardboard.
Step 4
Decorative frames are usually used without glass, but a piece of transparent film can be used to protect against external influences and make it more attractive. To install such a frame on a table, glue a cardboard stand to the backing. So you can make not only a square, but also a round, oval frame. They can even be made convex by putting cotton wool or foam rubber between the sheets of cardboard before joining.
Step 5
Beautiful frames can be made from polyurethane skirting boards. They are attractive in a wide variety of sizes, shapes and even colors, are light enough and inexpensive. To make such a frame, take a plinth that is sufficient along the length of all four sides of the picture, glue, a stationery knife and cardboard on the back wall of the frame.
Step 6
Cut four pieces from the skirting board, which will become the sides of the frame, at an angle of 45 degrees and then glue them together and to the underlying cardboard wall. Skirting boards can be painted in the desired color, or additionally decorated with twine, rhinestones and other decorative elements.


