Picture frames are a special detail of the interior - they are designed to emphasize the beauty and perfection of the artistic canvas, without taking away the attention and creating a complete composition with the picture. When starting to make a frame for a picture, you should decide in advance on its design, so that the frame you create will favorably set off the work of art.

It is necessary
- • wooden slats;
- • the cloth;
- • plaster molding;
- • plastic;
- • cardboard;
- • scissors;
- • tape measure, ruler, square;
- • hacksaw or jigsaw;
- • pencil or marker;
- • paints;
- • small nails;
- • glue for a specific material;
- • beads;
- • the cloth;
- • small fittings;
- • dry food;
- • buttons;
- • pieces of various materials;
- • finishing elements;
- • elements of children's mosaics, puzzles, constructors.
Instructions
Step 1
Wooden picture frame
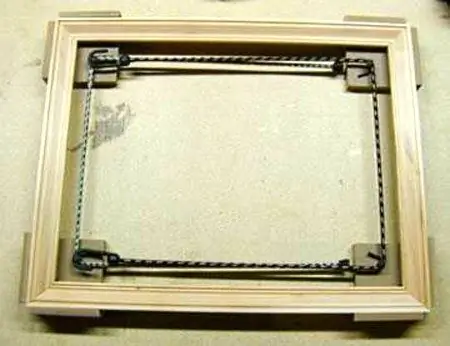
Wooden frames are a classic option for framing a picture. Usually they are created in a simple form, without complex decorative elements, in a neutral color scheme. Make a wooden frame from the slats of the desired width. Determine the length of the blanks by the size of the picture. Saw off 4 pieces of equal size in pairs and connect them together in the most convenient way, at an angle of 45 ° or by cutting into each other at 90 °. For better fixation, hammer in small, capless nails in the corners of the piece. Next, attach the loop to the frame, insert the picture and hang it on the prepared place.
You do not have to limit yourself to such a laconic product and, if the picture allows such an option, arrange a wooden frame to your liking. For this they usually use varnishing, painting, covering with fabric. Additionally, you can decorate the frame with small items, such as seashells for a seascape, or crochet the frame.

Step 2
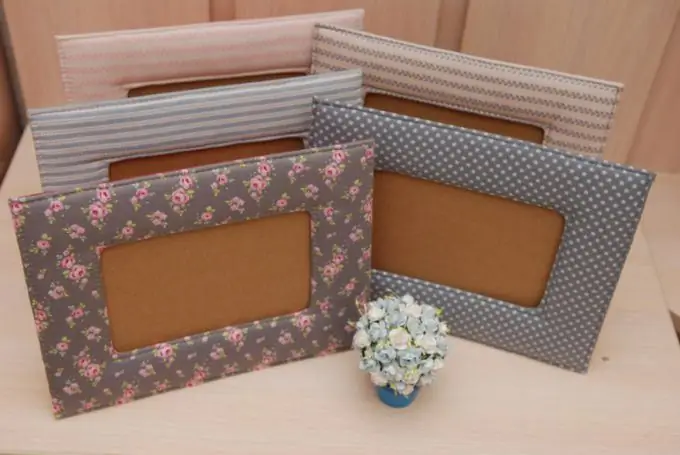
Soft frame for a picture
Soft frames are appropriate to create for framing light cheerful pictures or photographs. First, assemble the frame of the frame from wooden slats, fasten the parts with small nails or glue. When calculating, keep in mind that the inner perimeter of the frame should be 2-3 mm less than the picture.
Make a template out of cardboard by tracing a frame around the perimeter. Cut out the cardboard model and cut into 4 components. Use this cardboard template to cut the fabric. If you want the frame to be voluminous, make all the details 2 cm larger and add a seam allowance of 1-2 cm.
Fold the pieces of fabric and sew from the inside out along the long side, turning them right out. Slide the resulting frame onto a wooden frame and fill it evenly with filler to add volume. To do this, you can use cotton wool, synthetic winterizer, small scraps of fabric. After filling, sew the fabric by hand with a blind stitch along the right side. Place a seam on the short sides of the parts. Bring the ends of the threads to the back of the product. Glue thick cardboard on the back of the finished frame.

Step 3
How to make a cardboard frame
As a publicly available material, cardboard is often used in home crafts; you can also make an excellent frame for a picture from it. In this case, no special tools and skills are needed, a cardboard frame is made quite simply, so its creation can be an option for the joint creativity of children and parents.
You can use a cardboard frame, for example, to frame small compositions, children's drawings or family photos. There are many design options for this product, but the main thing is to create a neat cardboard base. Cut out the cardboard base. You can use corrugated cardboard or any packing box as it. Cut a window inside the frame to fit the picture or photograph for which the frame is intended. The optimal frame width is usually 4 cm, but you can use more.
Next, cut out the back of the frame and the leg, identical in size, if you expect the frame to rest on it. Leave a 7x17 cm rectangle for the leg, it must be sharpened from the end side. Bend the edge 2 cm wide from the other end.
In the next step, glue the frame. Glue a leg to it, to do this, bend the strip and grease it with glue, place it in the center of the backdrop and press firmly to fix it. It is best to use PVA glue.
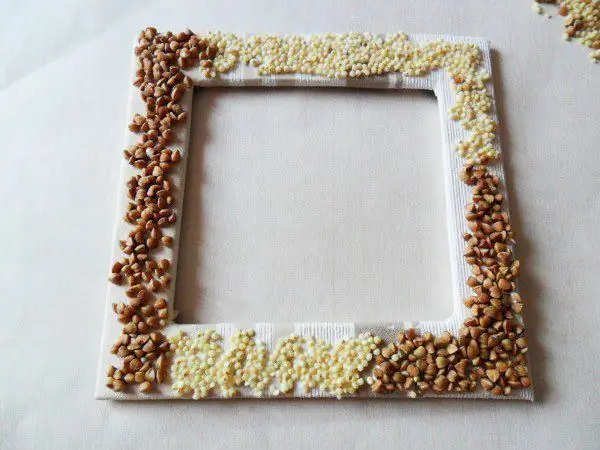
Next, you can start decorating the cardboard frame. For an original decoration, you can take any decorative elements: beads, small accessories, fabric, dry food (pasta, peas, millet), buttons, elements of children's mosaics, constructor sets, puzzles, pieces of various materials. When creating a composition, consider the style of the photographs or drawings that will be placed inside.

Step 4
Frame for a picture from scrap materials
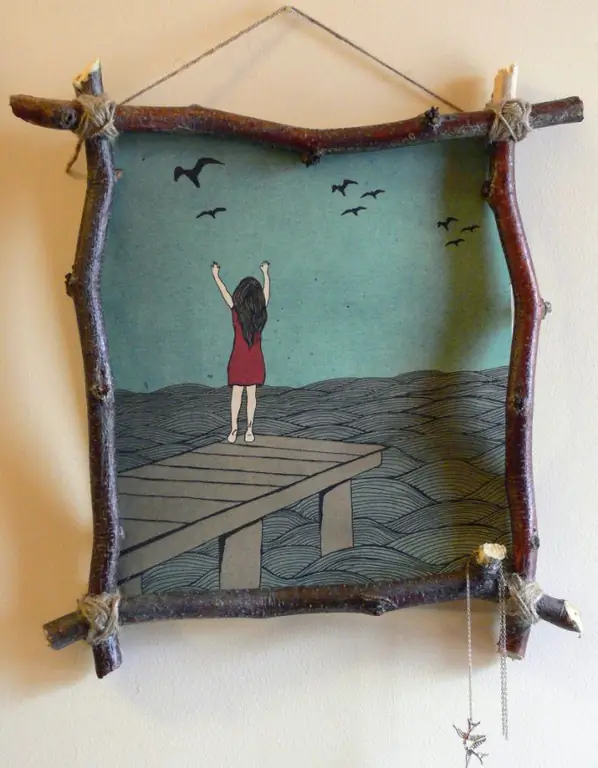
The creation of functional decor items from completely unexpected materials at hand is a trend in recent years in the field of hand-made. An originally designed such frame is suitable for framing bold canvases, abstraction. In this case, baguettes can be made, for example, from the ceiling plinth, stucco or molding left after the repair of the room.
Make the base of the frame from thin plywood or corrugated cardboard in the same way as described in the previous options. Next, cut the baguettes from the fillet or molding of your choice. The ends in this case will be connected at an angle of 45o. Take care in advance to create a custom template on paper with a precisely adjusted angle.
Glue the prepared baguettes to the frame base. It is most convenient to work with a glue gun, but if you do not have one, use universal polymer glue for fixing. Carefully cover corner gaps and other small errors with putty.
Wait for the glue to dry completely, then once again go over the fillet along the fillet seams and the line of contact of the baguettes with the base of the frame. If the error was significant and there are noticeable gaps in the joints, glue strips of foam plastic between them, then carefully putty. Ideally, the ends of the frame from the outside should be treated with the whole putty, drying and carefully sanding each layer.
Leave the product until the finishing layer of putty is completely dry, then paint the frame in the desired shade. It is advisable to take acrylic paint, but water-based paint is also suitable. For final fixing, colorless varnish must be applied to the surface of the frame. It is preferable to use a water-based product. Finally, attach a loop to the finished frame or make a leg on its back. You can insert a picture.


