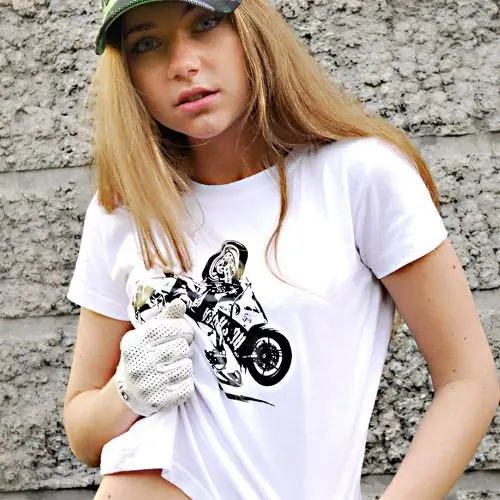
It is difficult to draw a beautiful picture yourself, especially if you are not an artist. But it's even more difficult to do this on clothing. But nothing is impossible if you try very hard. The technology is available even for beginners.

It is necessary
- - White shirt;
- - drawing template;
- - a simple pencil;
- - acrylic paints for fabric;
- - brushes;
- - iron.
Instructions
Step 1
If you are a beginner artist, then take a white T-shirt made from natural fibers, which you will not regret to throw away if you, out of inexperience, make blots and mistakes. When you are already confident in your abilities, try to paint things in other colors. Synthetics and stretch fabrics are not suitable for painting with acrylics.
Step 2
The drawing template can be found on the Internet, in magazines, coloring pages, etc. In order to transfer the drawing to white fabric, you will need a carbon copy. Try placing your finished print design under the fabric. If its contours are translucent, then you only need to circle them with a simple pencil. It will be necessary to transfer the drawing to a fabric of a different color by cutting the AO picture to the contour lines into pieces and outlining them with chalk, a remnant or a piece of dry light art pastel.
Step 3
It is better to take brushes of different sizes. With synthetic fiber bristles, as they are easy to maintain. It is enough to wash them with soap and water.
Step 4
Having transferred the drawing to the fabric with a not too sharpened pencil, put some unnecessary fabric under the drawing so that the paints do not print on the back of the shirt.
Step 5
Start painting over the contours of the drawing with paints, starting with the lightest colors, ending with the darkest ones. This will allow you to paint over previous blemishes with a darker paint. It is impossible to correct dark colors with light colors.
Step 6
Lastly, black paint is applied, and the contours of the drawing are outlined.
Step 7
After the paints have dried, check if there are any unpainted areas in the drawing, try to stretch the fabric slightly. If the paint has cracks, you may have applied it too thinly. Apply another thicker coat of paint. The cracks should disappear.
Step 8
Iron the pattern from the wrong side with an iron. This will fix the picture to the fabric.
Step 9
You need to wash the painted things with your hands, you need to iron the picture only from the wrong side.


