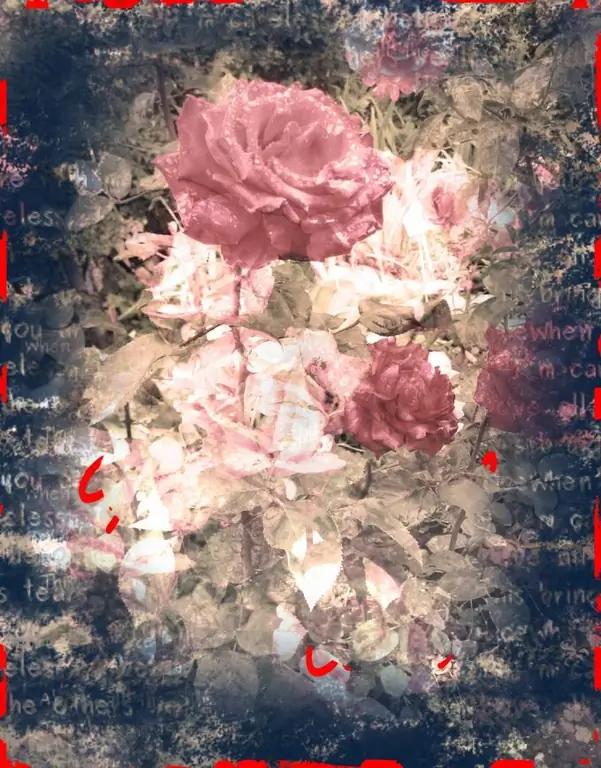
Graphic editor Photoshop supports working with layers. Thanks to this, users have the ability to move one image on top of another, change the transparency and blend mode of layers, swap layers, in other words, a wide scope for creativity and the opportunity to get quite interesting results after a series of simple actions.

It is necessary
- Photoshop program
- Multiple images
Instructions
Step 1
Open the images you want to work with in Photoshop. To do this, use the Open command from the File menu or the keyboard shortcut Ctrl + O. In the explorer window select the necessary pictures by clicking on them with the left mouse button while holding down the Ctrl key. Click on the "Open" button.
Step 2
Insert one picture on top of another. To do this, left-click on the window with the file that you are going to insert over another image. Select the picture using the keyboard shortcut Ctrl + A or the All command from the Select menu.
Copy the selected image using the keyboard shortcut Ctrl + C. You can use the Copy command from the Edit menu.
Go to the image you are going to use as the background by left-clicking on the window with this image.
Paste the copied image using the keyboard shortcut Ctrl + V. The same can be done using the Past command from the Edit menu.
Step 3
If necessary, resize the inserted image. To do this, in the Layers palette ("Layers") left-click on the layer with the inserted image and apply the command Transform ("Transform"), item Scale ("Size") from the Edit menu ("Editing"). Reduce or increase the size of the picture by dragging the mouse around the corner of the frame that appears around the picture. Apply the transformation by pressing the Enter key.
Step 4
Hide unnecessary details of the image superimposed on the background, or change the transparency of its individual areas using a layer mask. To do this, left-click on the Add Layer Mask button at the bottom of the Layers palette. In the palette "Tools", which is located on the left side of the program window, select the Brush Tool ("Brush"). Left click on the layer mask icon. Paint over with black the parts of the inserted picture that you want to hide. They will become transparent. To get a smooth transition from the pasted image to the background, decrease the Hardness parameter of the Brush tool. You can adjust the brush parameters in the Brush panel ("Brush"), which is located under the main menu.
Step 5
Adjust the colors of the top layer by adjusting the color balance. This can be done through the Image menu, the Adjustment item, the Color Balance sub-item. Move the sliders to achieve a harmonious combination of the bottom and top layers.
Step 6
Save the result using the Save command on the File menu. In order to be able to return to editing the layers in this file, save it in PSD format.


