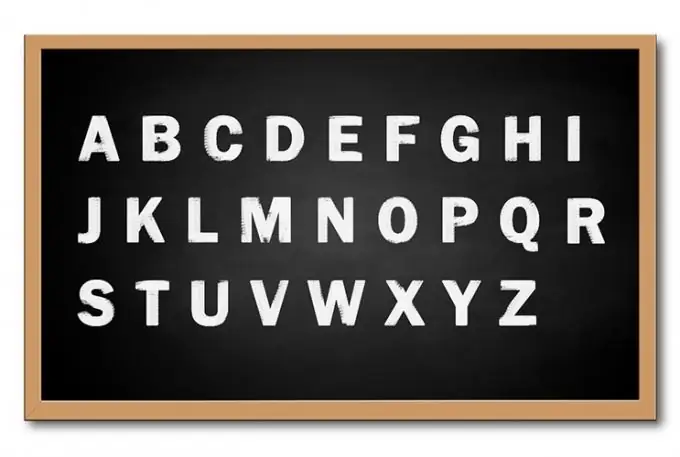
Today's digital imaging applications have tremendous capabilities. In addition to manipulating parts of rasters, they provide a means of entering and transforming text labels. Therefore, if you need to draw a picture from letters, it makes sense to do it in a modern raster graphics editor.

It is necessary
graphic editor GIMP versions 2.x.x
Instructions
Step 1
Create a new document in GIMP. In the main menu, select the "File" and "New …" items in sequence, or press Ctrl + N. In the "Create a new image" window that appears, enter the logical and physical resolution of the image, select a color space and a background color. Click the OK button.
Step 2
Activate the Type: Create and Edit Text Layers tool. The tool is activated by pressing the button with the icon in the shape of the letter "A" located on the toolbar.
Step 3
Create a text layer. Press the left mouse button anywhere on the image and, while holding it, move the cursor vertically and horizontally. A frame will be displayed and stretched behind the cursor. Release the left mouse button. A dialog box appears for entering text. Enter any letters. Click the "Close" button in the dialog.
Step 4
Select your preferred size and typeface for the lettering you create. On the toolbar in the "Text" section, click the button next to the "Font" caption. The list of typefaces will expand. Click with the mouse on any of its points. In the Size text box, enter a value for the font size. In the list next to it, specify the units for the dimension value.
Step 5
Specify typographic options for text output. Select alignment options by clicking on the button from the "Justify" group. Enter the first line indent, line spacing, and letter spacing in the boxes below.
Step 6
Set the color of the text. Click on the button next to the "Color" label located in the toolbar. In the "Text Color" dialog select the desired color. Click the OK button.
Step 7
Transform and move the text box. If necessary, process the created text layer using transformation tools (such as "Curve", "Perspective", "Rotation", "Scale", "Mirror") and filters. Adjust the position of the text box relative to the background.
Step 8
Draw a picture of letters. Repeat steps 2-7 as many times as necessary to create the resulting image.
Step 9
Save the image to a file. Press Ctrl + S or select "File" and "Save" from the menu. Specify the file name, its format and the storage directory. Click the Save button.


