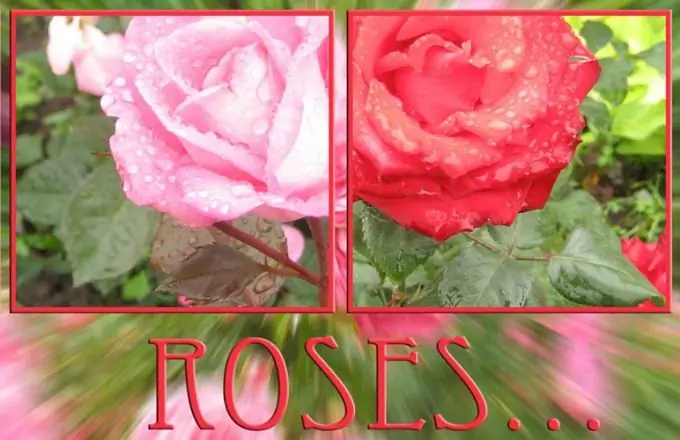
Adding an inscription to an image is one of the simple operations that can be performed in a graphics editor. Depending on the result you want to get, you can overlay text on the image itself, on a wide monochromatic frame created around the image, or on a dialogue bubble like those used in comics to indicate the character speaking a line.

It is necessary
- - Photoshop program;
- - image.
Instructions
Step 1
Open the picture on which you need to make an inscription in a graphics editor using the Ctrl + O shortcut keys or the Open option from the File menu.
Step 2
Use the Custom Shape Tool to create a caption in the dialog bubble. In the settings panel, click on the Fill Pixels mode icon. Expand the Shape list and select a Talk or Thought shape.
Step 3
Click on the colored square in the tool palette to select a color that will fill the dialog bubble. Using the Layer option from the New group of the Layer menu, create a new layer and draw on it a shape of the selected shape. To do this, drag the cursor down and to the right while holding down the left mouse button.
Step 4
Using the Horizontal Type Tool, create an area where you will enter the text. To do this, place the cursor on the dialog bubble, hold down the left mouse button and drag the resulting frame.
Step 5
Use the Character option from the Window menu to open the font palette and select a font, style, size, and color from it. You can change these parameters if required. Click on the text field and write. If the text does not fit completely into the frame, reduce the font size by adjusting it in the options bar under the main menu or in the Character palette.
Step 6
If the caption needs to be on a solid color frame, increase the canvas size using the Canvas Size option from the Image menu so that there is enough space for the caption and image. Use the Rectangular Marquee Tool to select the part of the picture that should be visible from under the frame. Invert the created selection with the Inverse option of the Select menu.
Step 7
Create a new layer and, activating the Paint Bucket Tool, fill the selection with color. Write on the background of the created frame. Most often, such inscriptions are located at the bottom of the image.
Step 8
If you need an inscription on the background of the picture, make it with the Horizontal Type Tool. Select one of the colors in the image as the color for the font.
Step 9
Save the picture with the text to a.jpg"


