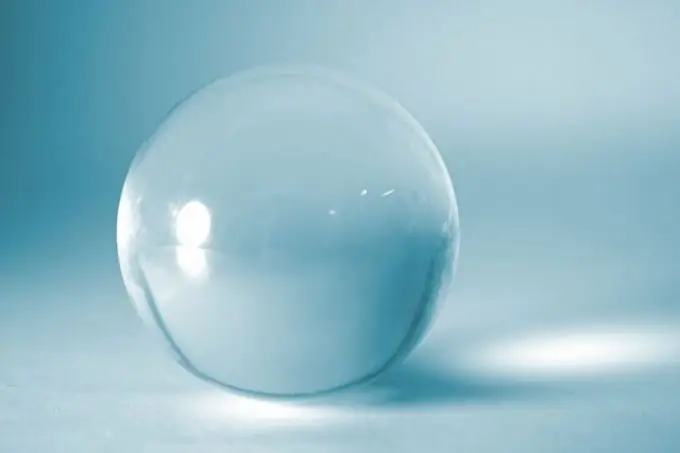
A powerful digital imaging tool like Adobe Photoshop lets you create a variety of stunning graphic effects. You can even add new objects to existing compositions that will fit perfectly into them. This approach is easy to illustrate if you draw glass in Photoshop using a sufficiently varied and contrasting background.

It is necessary
- - Adobe Photoshop editor;
- - background image file.
Instructions
Step 1
Open the image file in Adobe Photoshop, on the background of which you want to draw glass. In the main menu, click on the File and "Open …" items, or press Ctrl + O. The Open dialog will appear. Navigate in it to the directory where the required file is located. Highlight it in the listing. Click the "Open" button.
Step 2
Create a new layer. Sequentially select the items Layer, New, "Layer …" from the menu, or press Ctrl + Shift + N.
Step 3
Create a uniform filled area in a new layer. The shape of this area will completely determine the shape of the glass element added to the composition.
Create a selection of the desired shape. Use the Rectangular Marquee Tool, Elliptical Marquee Tool, Lasso Tool and Polygonal Lasso Tool. Combine areas by holding down the Shift key. Delete parts of areas by selecting with the Alt key pressed. If necessary, transform the prepared area by choosing Select and Transform Selection from the menu.
Choose a fill color for the area. Click on the square representing the foreground color in the toolbar. In the Color Picker (Foreground Colo) dialog select a color and click OK. The hue of the selected color will determine the color of the created glass object. It makes sense to choose a color that belongs to the blue or green part of the spectrum with saturation in the region of 20-50% and brightness in the region of 50-70%.
Fill the selection with the color of your choice. Activate the Paint Bucket Tool. Click with the mouse in the selected area.
Step 4
Change the transparency level of the current layer. In the Layers panel, enter a value in the Fill text box, or set it using the slider that appears after clicking the arrow button next to it. Set the value in the range of 20-40%.
Step 5
Turn on the drop shadow on the image of the layer and adjust the parameters of this effect. Open the layer style dialog. To do this, right-click on a layer element in the list of the Layer panel. In the context menu, select Blending Options.
Check the box for Drop Shadow and select it. Select Multiply from the Blend Mode list. Set the angle of incidence of the shadow by entering the appropriate value in the Angle field. If there are shadows in the background image, then choose such an angle of incidence so that the position of the shadow cast by the area created in the third step does not visually contrast with the composition.
Step 6
Turn on the inner highlighting effect of the top layer image and adjust its parameters. Check Inner Glow and select it. In the Blend Mode list, select the Color Dodge value. In the Opacity field, enter a value between 20-40. Click on the button of the drop-down list located at the bottom of the Structure control group. Experiment with highlighting styles. Choose the one that best suits the composition. Click the OK button in the dialog.
Step 7
Check the result. View your composition in different resolutions. Go back to step 5 and adjust the shadow and highlight settings if necessary.
Step 8
Save the resulting image. Press Ctrl + S or Ctrl + Shift + S. Specify the directory and name of the file to be saved. Select the image compression options, if necessary. Click the Save button.


