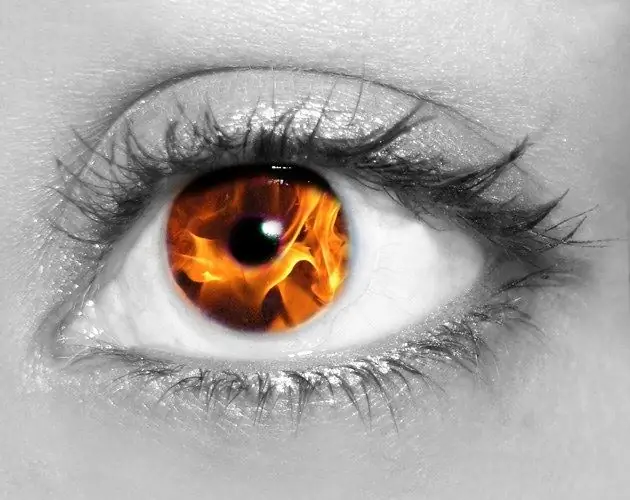
With the help of the tools of the Photoshop program, you can not only remove defects from your own photo, but also apply unusual makeup on your face, turn the picture into an image of a character from a fantasy film or a cartoon. The result in this case depends entirely on your imagination.

It is necessary
- - Photoshop program;
- - the photo.
Instructions
Step 1
Load the photo into a graphic editor and create a copy of your photo using the Duplicate Layer option of the Layer menu. Some Photoshop filters cannot be applied to the background layer, in addition, the file you are working with will retain the original version of the image, which you can use at any time to restore details.
Step 2
In order to make a cartoon from your own photo, use the Lasso Tool to select the fragments of the face that you will transform. It is not necessary to make an exact selection, you can hide the extra parts with a layer mask. Most often, to create a cartoon from a picture, the upper and lower parts of the face are deformed. In turn, copy the selected fragments to new layers using the Layer via Copy option of the New group of the Layer menu.
Step 3
To warp parts of the image, use the Warp option in the Transform group of the Edit menu. Make sure that the changes at the boundary between the deformable and the original fragment are minimal. Hide the extra details of the changed area of the picture with a mask. To do this, use the Reveal All option in the Layer Mask group of the Layer menu. Turn on the Brush Tool and paint the mask with black in the places where the details of the layer that need to be removed are located.
Step 4
You can correct facial features with the Liquify filter. By setting the Brush Pressure and Brush Size small values, you can make neat changes to the picture, the result of which will look quite natural.
Step 5
After applying the tools of the Liquify filter, fragments of the background bordering on the corrected image details may suffer. This can be fixed by covering the blurred area of the background with pixels copied from the normal area with the Clone Stamp tool. Click on the intact part of the image while holding down the alt="Image" button to specify the source of the pixels to be copied. After releasing the button, paint over the affected fragment.
Step 6
Simply changing the color of the eyes can make a dramatic change to a photograph. To do this, select the eyes and copy them to a new layer. Change the color by opening the settings window with the Hue / Saturation option in the Adjustments group of the Image menu. Of course, such changes make sense if the eyes in the picture are clearly visible.
Step 7
You can make the effect of "demonic" fiery eyes by placing a picture with fire under the layer with a photograph. To do this, open an image of a fire of a suitable size, turn on the Move Tool and drag the fire into the file with the face. Use the Send Backward option from the Arrange group of the Layer menu to move the fire under the photo. Using the mask created on the layer with the photo, make the iris transparent, without touching the large highlights and shadows, if they are in the photo. Move the fire layer so that the most expressive flames are visible in the eyes.
Step 8
To apply makeup and recolor the skin, create a new layer using the Layer option in the New group of the Layer menu. Apply blush with a brush to the created layer, apply a blur to them using the Gaussian Blur option of the Blur group of the Filter menu. Reduce the opacity of the painted layer by changing the Opacity value in the layers palette.
Step 9
Apply the shadow on a new layer using a soft edged brush. In order to get such a brush, reduce the value of the Hardness parameter in the tool settings. Change the blending mode of the makeup layer to Color or Multiply by selecting the desired item from the list in the layers palette. Erase the extra shadows with the Erazer Tool. You can change the skin color in the photo in the same way.


