One of the most commonly used formats for storing optical disc image data is ISO. Like other disc images, ISO files are not designed for arbitrary modification. However, you can change the ISO image by using several utilities sequentially.

It is necessary
- - file manager;
- - WinRar, WinImage or optical drive emulation programs;
- - Nero Burning ROM.
Instructions
Step 1
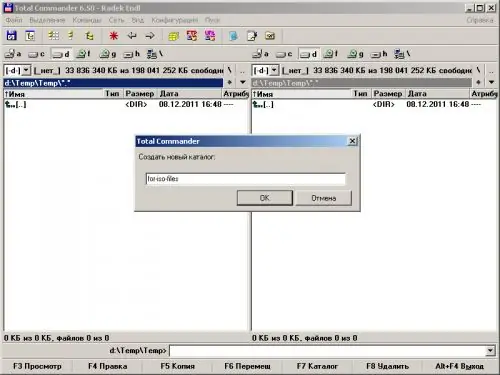
Create a temporary directory on your hard drive to store the information extracted from the ISO image. Use your preferred file manager or the capabilities of Windows Explorer (to start it, click on the Run item in the Start menu, enter explorer in the text field of the dialog that appears and click OK). There must be enough space on the media where the temporary directory is created to hold all of the image data.

Step 2
Extract all data from the ISO image to a temporary folder while preserving the directory structure. For this, you can use various software tools.
Extract the files from the image using specialized utilities. One of these programs is WinImage. Open the image in this application by pressing Ctrl + O. Select the entire contents of the image with the mouse, or using the dialog available by clicking on the "Image" and "Select …" menu items. Press Ctrl + X or select Image and Extract from the menu. In the Extract dialog, specify a temporary folder as the location where the files will be placed.
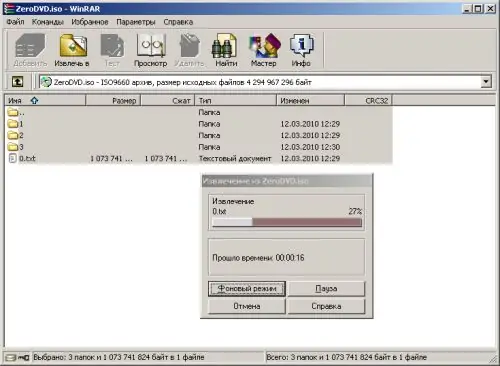
Use the WinRar archiver to get a copy of the image data in a temporary folder. Open the ISO file with this application. Select all the contents of the image in the list. Click the Extract To button on the toolbar. Specify the target directory and click OK. Wait for the end of the process of creating files.
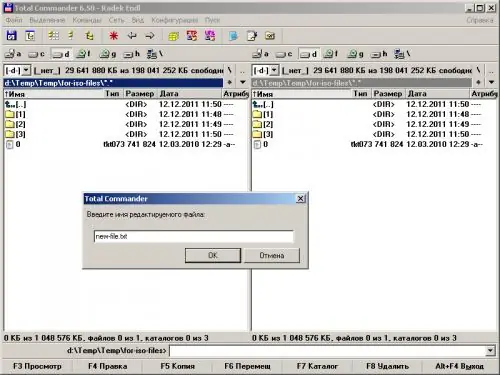
Files from an ISO image can also be extracted using an optical disc drive emulator (for example, Alcohol 120% or Daemon Tools). Mount the image file to a virtual drive. Open the appropriate drive in the file manager. Copy all content from it to a temporary folder.

Step 3
Modify the composition of the data obtained from the ISO image as desired. In a temporary folder on your hard disk, delete or add files, change the directory structure, edit files.

Step 4
Build a new ISO image with modified data. Start the Nero Burning ROM program. Create a new project by pressing Ctrl + N keys. Add all files from the temporary directory to the project. Select the Image Recorder virtual drive as the target device using the drop-down list in the toolbar.
Click in the menu on the items "Recorder" and "Burn project" or press Ctrl + B. Click Burn. In the Save Image File dialog box, select ISO Image Files (*.iso) from the File Type drop-down list. Provide a filename and target directory. Click "Save". Wait for the end of the image formation process.


