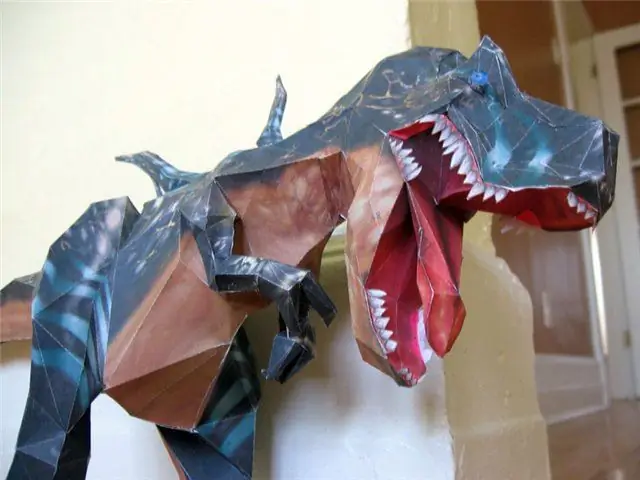
Making models out of paper is the oldest art form, which is again very common today. The first paper models appeared when printing appeared. And already in 1831, small paper copies of cars were produced in Germany. In Japan, paper modeling is called "origami". It differs from conventional modeling in that figures and models are obtained by folding tissue paper in a certain way without the use of glue.

It is necessary
special pattern, thin cardboard, scissors, ruler, glue, pencil, pen, PVA glue
Instructions
Step 1
For modeling, a special pattern is needed, which consists of separate drawn and painted parts. They must be cut, bent in a certain way and glued together. A wide variety of paper is used for work: thin cardboard, thick Whatman paper, ordinary printer paper, tissue paper, etc.
Step 2
Two modeling techniques are commonly used: 2D and 3D. 2D modeling is easier, takes less time. This is an image of an object from the front and back, which is cut out, glued, and placed on a special stand. We all did this modeling in kindergarten.
Three-dimensional modeling requires special care, attention to detail. But the product is very similar to the original.
Step 3
Buy in a store or download a pattern of the model you like from the Internet on your computer. Read the instructions or job description.
Step 4
Draw along the fold lines on the pattern with an object that has a rounded (so as not to break through the pattern), thin tip, for example, a corner of a plastic ruler, or a fountain pen that has run out of paste.
Step 5
Write a number on each part in pencil to avoid confusion. Carefully cut each separately, stepping back slightly from its edges.
Step 6
Bend the details along the lines using a ruler, iron the folds strongly with your fingertips or your fingernail.
Apply PVA glue with a brush to the valve of the part, attach to it another part relying on the description and squeeze firmly. Dry the bonding area.
After drying each part, assemble the model according to the description.


