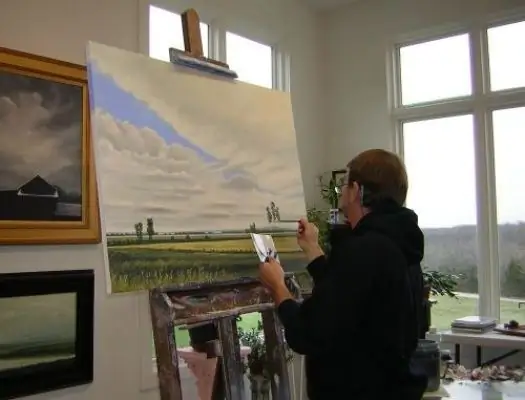
The technique of oil painting allows you to create bright and durable paintings, which is why it is used by many artists. Of course, to create a beautiful picture, you must have the talent of a painter. But anyone can try their hand at this.

It is necessary
oil art paints; - brushes; - soil; - gelatinous glue; - stretcher with canvas
Instructions
Step 1
Purchase the materials and paints you need. If you already have a ready-made primed stretcher with canvas, you can start creating a picture. If there is no stretcher, it is necessary to assemble it from wooden slats, then stretch the canvas over it - it is best to use a thin burlap (jute) or linen fabric. The stretcher must not be glued tightly, it must have some mobility. The canvas is fastened with small nails or with a stapler.
Step 2
Glue the canvas stretched on a stretcher with gelatinous glue, made up of 40 grams of dry gelatin per 0.5 liters of water. The glue is applied with a stiff brush. Let the canvas dry.
Step 3
Prime the canvas and dry well. Use gelatinous glue with added chalk or zinc white as a primer. It is best to make the primer liquid enough and smear the canvas 2-3 times. On a high-quality primed canvas, the relief of the fabric should be visible.
Step 4
Draw on the canvas with a thin charcoal pencil the outlines of the future painting, then create the first paint layer - underpainting. It is applied with opaque (opaque) oil paints. At this stage, you paint over all the elements of the picture with paints of the corresponding colors. You will write down all the shades and subtle details later, now it is important to set the general color scheme of the future picture. For example, blue sky, blue water, green forest, etc. Let the underpainting dry.
Step 5
Start glazing - fine drawing of details. It is at this stage that all the elements of the picture are prescribed, including the smallest ones. Shadows are applied, the picture takes on complete features. Transparent oil paints are used, through which the underpainting shines through. This is the technique used by the old masters. Starting with the Impressionists, they often began to use a simpler technique, in this case the picture is painted in one stage without a clear division into layers. Each artist decides for himself which specific technique to choose.
Step 6
Acrylic paints are widely used in modern painting. They dry quickly and can be diluted with water. But after drying, it will no longer be possible to dissolve them. Acrylic paints can be applied both opaque strokes and transparent glazing.
Step 7
After complete drying, the finished painting is covered with artistic varnish and allowed to dry again. The next step is to insert the stretcher into the frame and hang the finished work of art on the wall.


