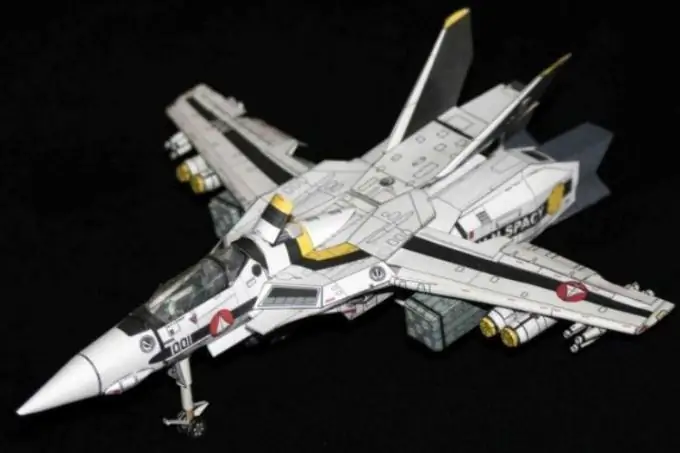
Creation of paper models develops not only creativity, but also spatial perception and visual-figurative thinking. Such crafts are simple to perform, so they can be glued together with children, teaching them to work with tools and common materials. The time will come when the child will be able to make more complex composite models on his own.

It is necessary
- - colored paper;
- - cardboard;
- - Whatman paper;
- - pattern;
- - pencil;
- - ruler;
- - scissors;
- - PVA glue;
- - a brush for glue.
Instructions
Step 1
Draw a pencil sketch of the paper model. Draw the future product on paper in three projections to get an idea of its shape and size. If such a drawing gives you difficulty, just draw the model in free form.
Step 2
Make a pattern of the model, guided by the sketch. If you are using a commercially available paper model ready to glue and assemble, no pattern is required. In this case, immediately start cutting out the details. For the author's model, the pattern must fully correspond to the future product in size and shape.
Step 3
Transfer the image of each part to a drawing paper, cardboard or colored paper. For rational use of the material, first attach all the elements to the sheet, placing them in such a way as to leave as little free space as possible.
Step 4
Draw valves in the form of trapezoidal strips to the drawings of the elements of the future paper design. They will be required to glue the parts together.
Step 5
Cut out all the details with scissors. This is the most critical stage in the assembly of the model, requiring precision and accuracy.
Step 6
Draw the end of the ruler along the lines of the intended bend of the parts (from the outside). This is in order to crush the fibers of the paper or cardboard and make it easier to fold.
Step 7
Number the parts in the order in which they are assembled. Place the number or name of the element on the back of the workpiece or on the valve. Place the numbered parts in a stack in the order required for assembly.
Step 8
Apply the adhesive to the surfaces to be joined with a brush. Place two pieces together and press down. Wait for the glue to set. Move on to gluing the next piece. The glued parts can be manipulated only after the adhesive has dried.
Step 9
Color the glued model in the desired color if necessary. After the glue and paint have completely dried, the model is ready to add to your home collection.


