Few of the girls did not arrange "secrets" twenty years ago. For the mysterious storage of children's jewelry, it was necessary to dig a small hole, lay on the bottom a beautiful candy wrapper or a piece of fabric, beads, a mirror, flowers, pebbles, shells, cover with a shard of glass and sprinkle with earth. This lovely tradition can be slightly modified in order to preserve dear little things in memory. A well-thought-out thematic composition in a bank will be a gift for loved ones on a special occasion.
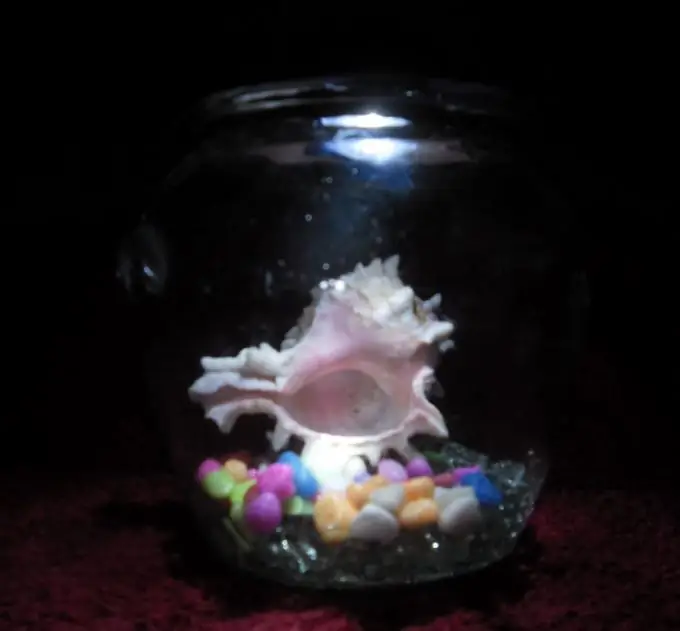
It is necessary
- - glass jar with a lid;
- - thick cord;
- - soil for the aquarium, glass beads, beads, beads, colored sand, etc.;
- - a shell, a beautiful stone, a small toy, etc.;
- - cardboard;
- - keychain flashlight;
- - transparent glue.
Instructions
Step 1
Find a flashlight keychain that can be easily converted into a compact light bulb. In our case, we used a part of a clothespin lamp for reading books. It is convenient because the LED and the switch are located on opposite sides of the flat case. Cut a circle out of thick cardboard with a diameter slightly smaller than the neck of the can.
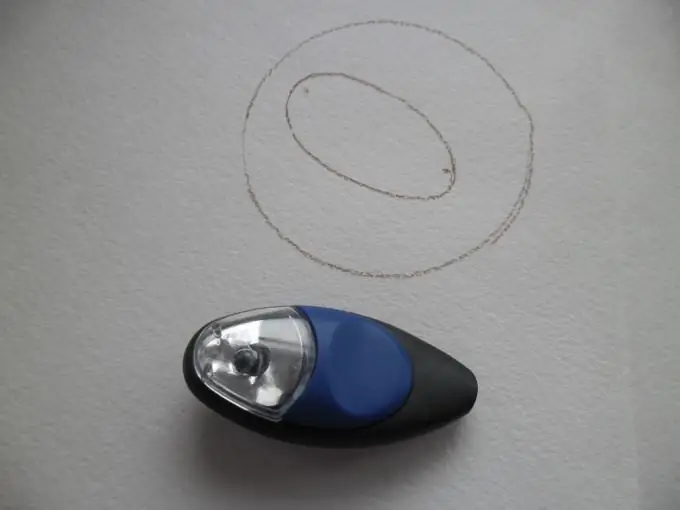
Step 2
Cut a hole in the middle so that the flashlight is secured and can shine into the can.
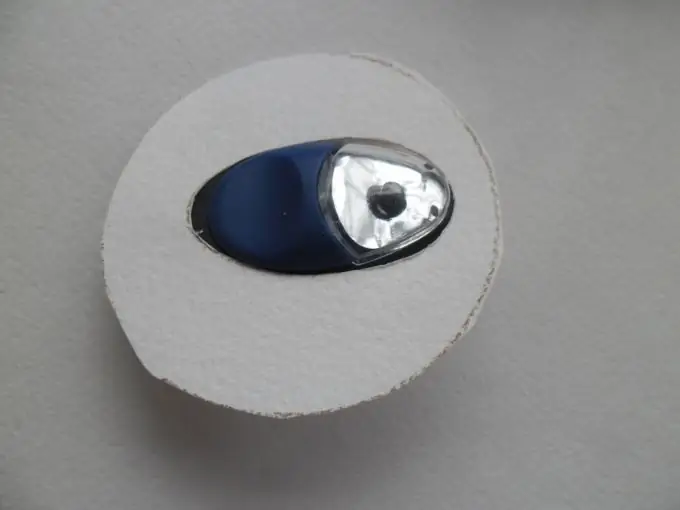
Step 3
Stick a thick cord inside the neck of the can at a distance slightly more than the thickness of the keychain. In the photo, a dark-colored cord is used for contrast, but it is better to use white or to match the lid. Do not use instant glue - it is fraught with adhesion of materials to the skin, because working with a narrow neck is inconvenient.
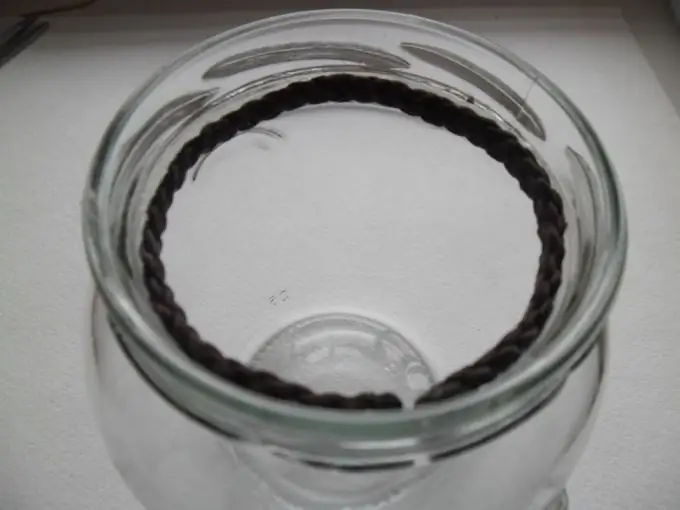
Step 4
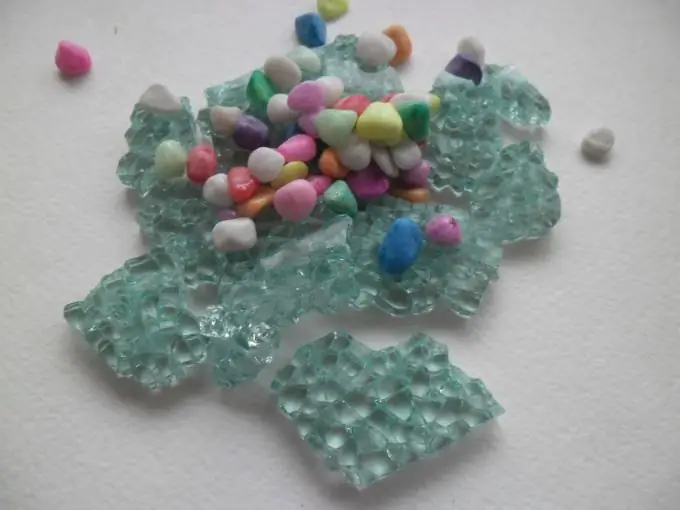
Prepare material to cover the bottom of the can. This can be small pebbles, beads, soil for aquariums, and in our case, even carefully crushed car glass, damaged in an accident. Such an unusual material looks like pure ice, it is easy to get it at autoparsing or in the workshop. Use caution when handling: although glass is tempered, when broken into the smallest pieces, it produces crumb that is harmful to the skin.
Step 5
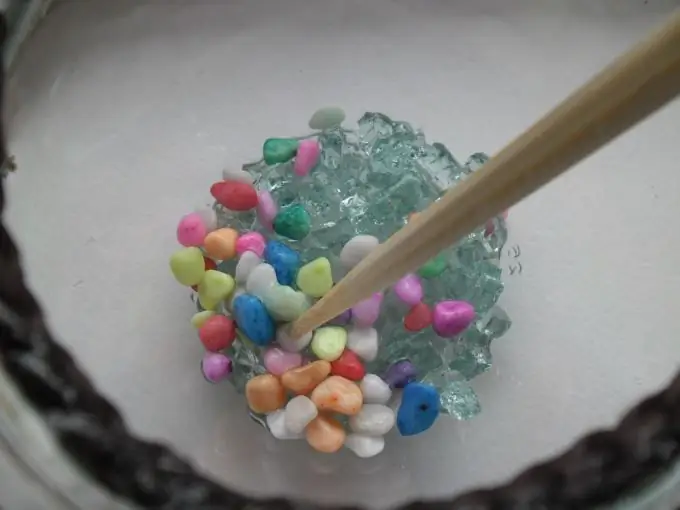
Pour some glue into the bottom of the jar and add your chosen materials. Spread them evenly with a stick, and for better fixation, you can pour a little more glue on top. Place the center piece of the composition inside the jar. Dry the contents of the jar within 24 hours.
Step 6
Collect a souvenir. Place a circle of cardboard with a fixed flashlight on the cord stand. Turn on the light bulb and screw the cover back on. Instead of pebbles, glass and shells, you can use other sets: crumbled foam as snow and a snowman toy, beautiful beads, foreign coins and a souvenir from a trip, colored sand and a toy boat, dried flowers and a butterfly, even a tiny framed photo. In general, what will your imagination tell you? Do not forget to turn off the flashlight for the day and change the batteries in it in time.


