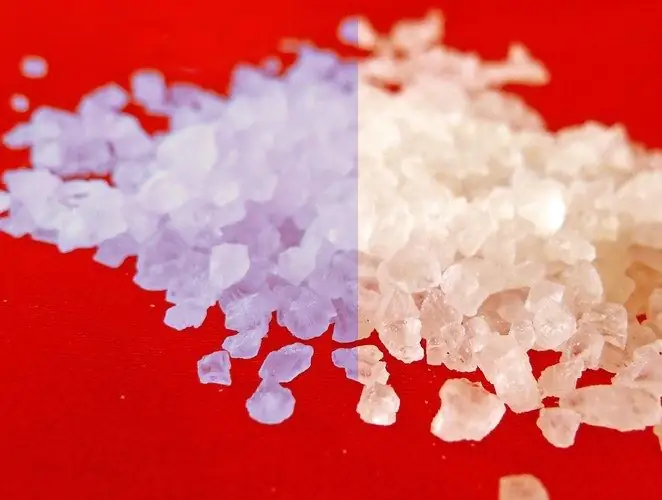
When processing photographs and creating collages, it is often necessary to remove one of the colors in which a fragment of an image is painted, or to completely recolor an object in the picture. To cope with this task, you can use Photoshop's color correction filters and layer masks.

It is necessary
- - Photoshop program;
- - image.
Instructions
Step 1
Open the image with the object you want to recolor in Photoshop and duplicate the layer with the image using the Layer via Copy option from the New group of the Layer menu.
Step 2
The most obvious way to change the color of a fragment of a picture is to use the Replace Color filter, the settings of which are opened by the option from the Adjustments group of the Image menu. Indicate the color you are going to change by clicking on the object that needs repainting. Turning on the Selection mode in the filter window, you will notice that part of the image in the preview window has become lighter. This fragment of the image will change color under the influence of the filter.
Step 3
If it turns out that not all of the fragment you are interested in is selected, change the value of the Fuzziness parameter. You can click on the middle eyedropper in the settings window and use this tool to specify additional areas that you want to recolor.
Step 4
Adjust the new color of the selection. To do this, click on the colored square in the Replacement panel and select the desired color from the palette that opens. You can adjust the color of the object by changing the values of the Hue, Saturation and Lightness parameters in the Replacement panel.
Step 5
The result of applying the Replace Color filter looks best if only one object was painted with the color you changed. If the changed color was contained in other areas of the image, these fragments also turned out to be recolored under the influence of the filter. This can be corrected with a layer mask.
Step 6
To create a mask, use the Reveal All option from the Layer Mask group of the Layer menu. In the tool palette, turn on the Brush Tool, click on the mask rectangle and paint the areas of the picture with black color, which should retain the original colors.
Step 7
If an area of incorrectly colored pixels appears on the border of the edited object, increase the scale of the image in the Navigator palette and decrease the Hardness value in the Brush settings panel. Carefully paint the mask around the edges of the object with a customized brush.
Step 8
If you are going to continue working with the image, select the Save As option from the File menu and save the file in psd format.


