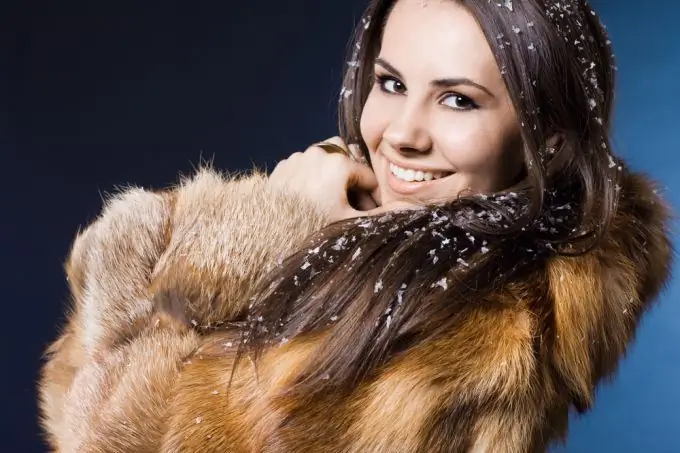
Sewing a fur coat or short fur coat yourself is not as difficult as it seems. Natural fur is difficult to process, but artificial fur can also be used. Fur coats and fur coats are sewn according to the same patterns with a decrease or increase in length.

The process can be briefly described as follows - first they sew the fur top, then the lining and connect them together. After the pattern is selected and the parts are cut, they need to be prepared for assembly. Some details need to be duplicated with coarse calico or non-woven linings. Due to this, the sides of the fur coat do not deform and the hinges hold well. The edges of the lining are not hemmed, the sprout and shoulders from the back are reinforced with an edge or edging made of coarse calico fabric. Thick backing fabric is also needed for pockets.
It should be remembered that natural fur cannot be ironed; you will have to choose other methods and materials for duplication.
Faux fur needs duplication even more than natural fur, since in most cases its base is knitted, and even if impregnated with glue, it stretches. A fur coat quilted using all technologies serves for 10 years or more without major repairs. The upper part of the side, the bottom of the product and the sleeves are reinforced with ordinary non-woven linen. After that, the pockets are processed and the top is assembled together with the collar. The sleeves are collected separately and set aside. Stitching fur details, the fur is directed between the details, inside the seam.
The assembly of the lining is even easier - each piece is laid on batting or on a woolen knitted fabric, and then quilted on a typewriter in any pattern. The use of padding polyester is undesirable. The lining of the sleeves is not quilted - it is grinded with insulation, assembled separately and sewn to the sleeve blank along its bottom. The bottom is tucked inward along the edge of the dubbing and is swept around, after which it is hemmed with secret stitches and the lining is fixed inside at the elbow level along the seam with slight overlaps.
The lower cut of the fur coat is edged with an oblique inlay before joining the lining and the top. To correctly combine the lining with the fur coat, the main thing is to fold the middle of the sprout and the shoulder seams. First, the seam of the connection is swept, and is sewn only after checking the correctness of sweeping. The already edged bottom is swept, the sides are processed manually or by machine, cutting out excess interfering fur in the corner. Most often, the loops on fur coats are made from a cord, they are inserted into the holes and firmly sewn to the side, and not to the fur. The fur coat is put on the mannequin, fastened and the quality of all previous operations is checked.
The sides must be of the same length, must not diverge or deform.
When the quality is checked, a bottom line is outlined on the lining, which should be 2 cm higher than the bottom of the fur coat. may burst.
The final stage is the processing of the armhole. The depth of the armhole is checked before the sleeve is sewn in; if necessary, it is trimmed. Putting the product on a mannequin, the sleeve is pinned with three pins - the first connects the top of the ridge and the shoulder seam, the second connects the front roll and a point on the shelf, located so as to avoid creases. The third is located on the elbow roll and on the back; there should also be no folds and creases.
After checking the correct location of the pins in place, thread marks are placed and the sleeve is inserted in the usual way, aligning the marks with each other. The sleeve is slightly stretched when stitching in and two lines are made. Then the shoulder pad is attached and the armhole is secured with a lining.


