If you want to use the audio track of a video clip as an independent audio file, you have two options: separate the sound in the editor program, or simply reformat the original video file in a suitable converter. See how you can do it with the usual Windows Movie Maker, the popular Virtual Dub program, and the free universal Format Factory converter.
It is necessary
- - a computer;
- - BY.
Instructions
Step 1
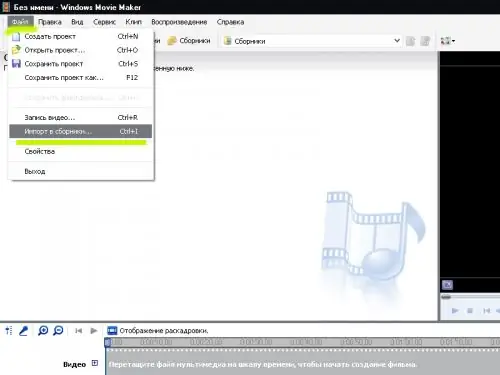
Start Windows Movie Maker. Select the "Import to Collections" item from the "File" menu (or simply press the Ctrl + I combination on the keyboard). Find the video file you want on your computer.
Step 2
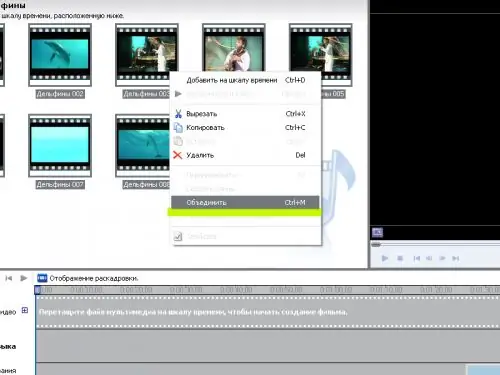
Wait until the file is imported. The program will divide the source video into clips - short fragments, each of which can be edited separately. Delete unnecessary parts of the video (if any), and select all the fragments that accompany the sounds you need and select the "Merge" item from the menu (Ctrl + M).
Step 3
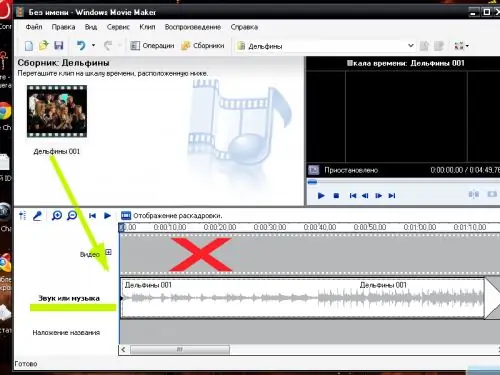
Move the merged clip with the mouse to the timeline, to the part where the audio track is displayed. Please note that the video track must remain empty. If you accidentally hit it, select the video clip with a mouse click and press the Delete key.
Step 4
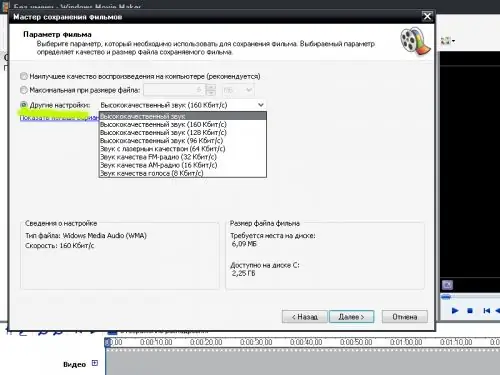
Select "Save Movie File" from the "File" menu (Ctrl + P). Specify the location to save the file, give it a name and set the parameters for the quality of the future audio. Click the Next button and wait until the file is saved.
Please note - the finished audio will be saved in wma format.
Step 5
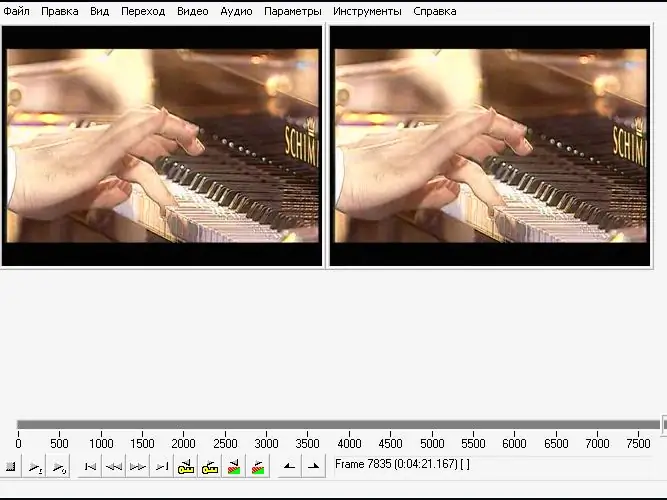
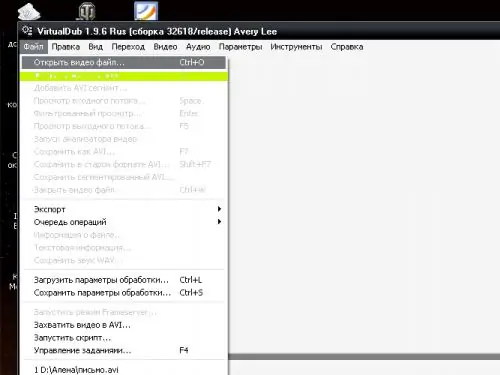
Install the free Virtual Dub video editor on your computer (you can download it from this link https://virtualdub.sourceforge.net). Run the program and open the file you need.
Step 6
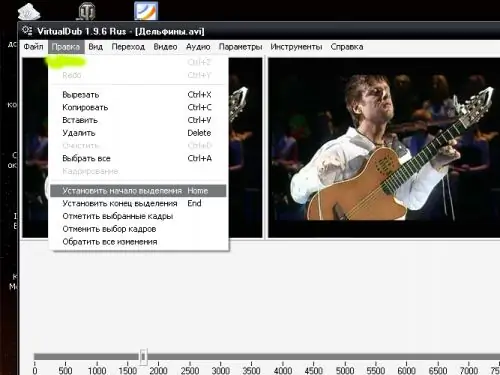
Edit the file, if necessary, removing all unnecessary fragments. For this use the program tools located in the "Edit" menu.
Step 7
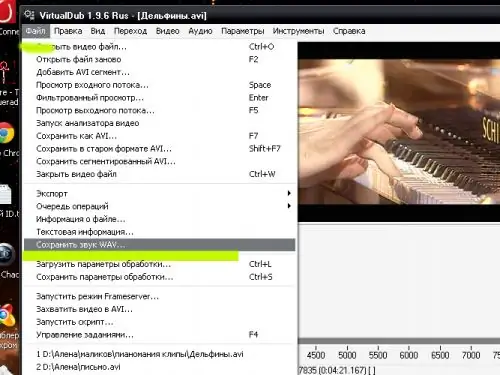
Select Save WAV Sound from the File menu. Specify the path to save the file and give it a name. Click on the "Save" button - in a few minutes the wav sound file will be ready.
Step 8
Please note that Virtual Dub is designed to work with AVI files. Windows Movie Maker supports more file types, but not all. For example, you will not be able to extract an audio track from the flv format popular on the Internet in these programs if you do not reformat the video beforehand. Therefore, if there is no need to edit the video, it would be more expedient to immediately convert the video to an audio file using a universal converter.
Step 9
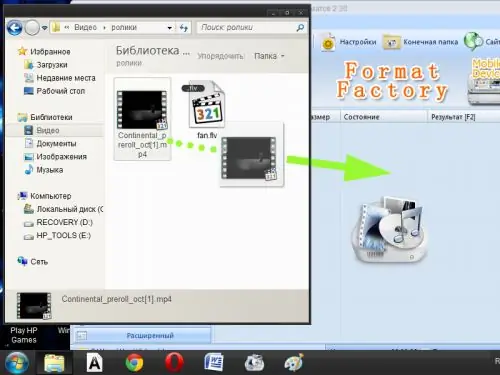
Install the free Format Factory program (you can download it from the official site https://www.pcfreetime.com). Open the folder with the video you need and drag it with the mouse to the working area of the program window.
Step 10
Select the appropriate audio format from the list that opens. In the "Settings" menu, specify the path to save the file and set its name. Save the settings and press the "Start" button in the program menu. In a few minutes, your audio will be ready.


