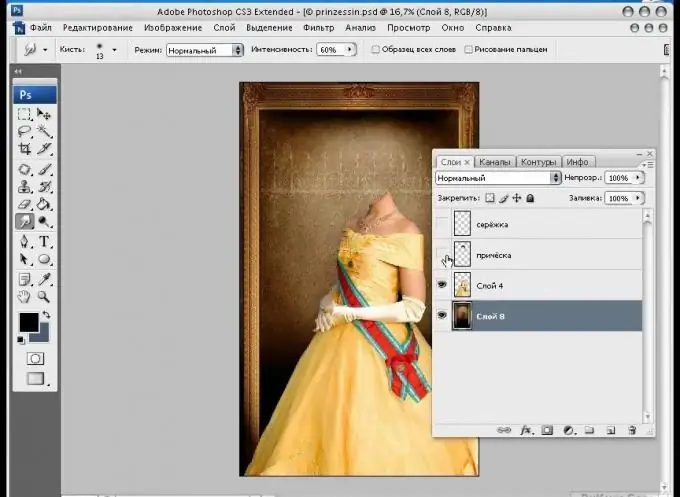
On the Internet, you can find a lot of original templates with which you can see yourself, your friends or relatives in any role - in a costume of a medieval knight or in a dress of a society lady. With the help of the template, you can try on any costume and any environment, and in order to insert your face or the face of your friend into the template, you only need a basic knowledge of Adobe Photoshop.

Instructions
Step 1
Download the required template from the Internet and unpack it from the archive. Then open the template in Photoshop, and then load the photo into the program, from which you will cut out your face for the template. Select any method convenient for you on the toolbar with which you can cut out a face from a photo - for example, the Lasso Tool, Pen Tool, and others are suitable for this.
Step 2
Circle the face in the photo with the selected tool, and then copy it to a new layer by right-clicking on the selected area and choosing the Layer via Copy option. Drag the image from the new layer onto the document with the template - this way, an additional layer will appear in the template.
Step 3
The selection does not have to be perfectly accurate - later, when you insert the photo into the template, you will edit it again. Make the selection rough, just follow the contours of the face.
Step 4
More often than not, the original copied photo does not match the dimensions and proportions of the template. Correct the image - open the Edit menu and select the Free Transform option. If you need to reduce the face a little so that it matches the proportions of the template, hold down the Shift key and with the left mouse button squeeze the selection by the handles that you find at the edges of the path.
Step 5
Other markers, made in the form of curved arrows, you can use to rotate the image, creating the desired angle of tilt and rotation. Using the Move Tool, move the face to the desired area of the template, and then set the layer with the photo to the desired place - so that it does not overlap the hair or headdress.


