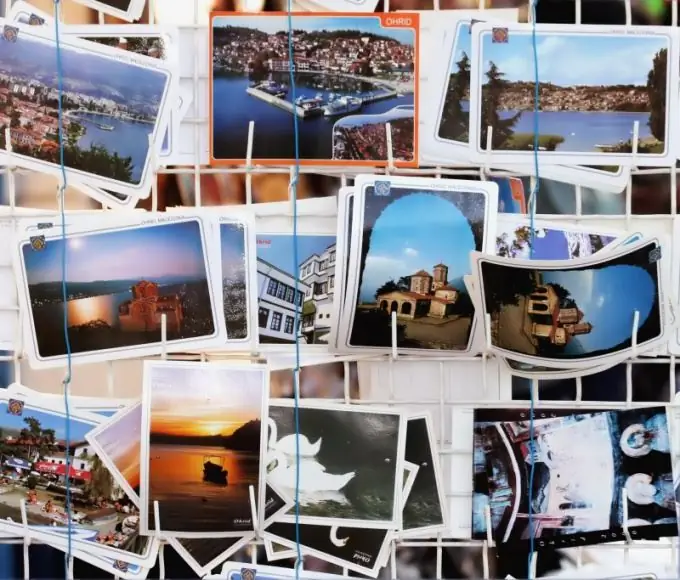
You can congratulate a dear person in different ways. One of the traditional ways is to send him a postcard with good wishes. You can remind the addressee of your existence if you insert your face into the picture. Thus, you can arrange both a regular paper and electronic postcards.

It is necessary
- - double postcard;
- - the photo;
- - a sharp knife;
- - simple pencil:
- - PVA glue:
- - a computer with Adobe Photoshop;
- - scanner;
- - Printer;
- - postcard template (you can take any picture you like).
Instructions
Step 1
To display your face in a regular paper card, choose a photo that suits the size. Cut out your face carefully. For small pictures, it is better to use scissors with short, straight ends. You can also use a sharp knife - for cardboard or a shoe.
Step 2
Take double postcard. On the side where the picture is, mark a place for your face. Use a thin, simple pencil to outline the contours of the photo. Use a sharp knife to cut the hole so that the edges are straight.
Step 3
Circle the hole on the inside of the card. Gently paste the photo onto the outlined area. When the card is folded, your face should fit exactly into the hole.
Step 4
You can also insert your face into an electronic postcard. Choose a suitable picture. If this is your first time doing this, choose a drawing or photograph with a storyline that does not require special precision when creating a collage. This can be, for example, a landscape or a bouquet of flowers. Once you master the technique a little, you can make postcards more difficult. For example, you can replace the muzzle of some fairy-tale character with your face.
Step 5
Prepare your photo. If necessary, scan it in the desired mode. For black and white, choose Grayscale. Set the required resolution. It depends on what the card is for. For sending by e-mail or posting on the Internet, a resolution of 72dpi is sufficient, for prepress it will be more, from 300dpi. Process the background, that is, the picture into which you will insert your face.
Step 6
Open both images in Adobe Photoshop. Find the Lasso tool on the left vertical panel. Select your face in the photo. Try to make it more precise. Finish the selection at the same point where you started it.
Step 7
In the top panel, find the "Edit" tab, and in it - the "Copy" option. You can also copy a fragment of the picture using the keyboard shortcut Ctrl-C
Step 8
Click on the postcard so that it is in the foreground. In the same "Edit" tab, find the "Paste" option. Your face, cut out of the photo, will appear in front of you.
Step 9
Put your face in the right place. This can be done using the "Motion" tool, which is located on the left panel. If you have never dealt with him, then look for the icon with an arrow. Move your face and find the most harmonious positioning option.
Step 10
It is possible that you did not exactly cut out the face. In this case, extra lines will appear on the card. Remove them with a rubber band. To prevent light spots on the background, take the desired color from the postcard with an eyedropper, set it as the background, and only then start using the eraser. Remember to adjust the thickness of the eraser in the same way as the thickness of the brush.
Step 11
Save your creation in the format you want. If you are going to make any further changes to it, select the psd extension. For the final version, the.jpg"


