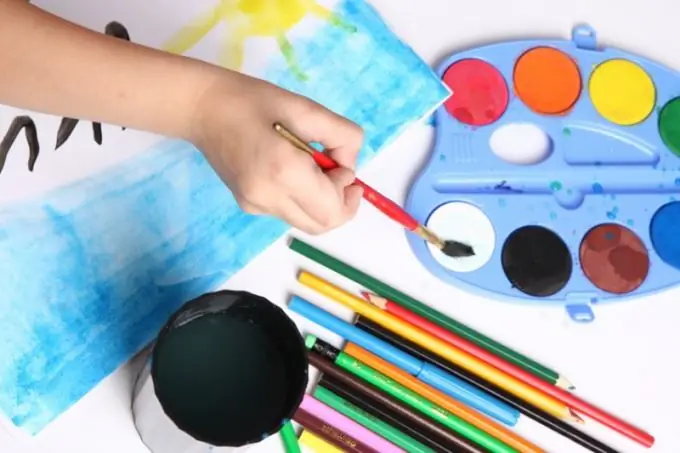
It is difficult to imagine a book in which illustrations would be superfluous. This is especially true of self-made books, in which design plays an almost major role. The richness of the content of such a folio can be emphasized with hand-made pictures - the main thing is to understand how, in what form and in what quantities to insert them.

Instructions
Step 1
Determine the number of illustrations in the book and reserve space for them. You can scatter pictures on the pages next to the corresponding piece of text, select two adjacent pages to get a spread picture, or insert all the pictures one after another in the center of the publication.
Step 2
Place pictures directly on the pages of a book or on thicker sheets of the same size. The choice of one of these options depends on what materials you will be painting with. If you prefer paint, be aware that water can warp thin book pages. For illustrations using the collage technique, it is also better to take a thicker paper (watercolor or for pastel). Insert pages should be 3-5 mm narrower than book pages.
Step 3
Draw a sketch on a draft. Select the scene you want to portray. Sketch a rough composition, choosing the right size for the plan.
Step 4
Develop an illustration style based on the content of the book. Then determine the appropriate color scheme. If you are at a loss with the choice of color, use the color wheel for artists. Style and scale should be the same for all pictures in the book.
Step 5
In accordance with the chosen direction, develop the appearance of the characters in the illustration. On separate drafts, draw them in detail and see in which perspective they will look more successful.
Step 6
Collect the whole picture on one sheet, draw it only with outlines, without coloring. If you plan to draw the illustration on book paper, transfer these paths into the book using tracing paper.
Step 7
Color the picture or put it together using the collage technique. When working directly in the book, protect the adjacent page with clean paper. First dry the insert picture at room temperature, then place it under the press to straighten it. Lubricate the free page of the book with PVA glue (put clean thick cardboard under it in advance). Apply the adhesive with a soft brush, evenly in a thin layer.
Step 8
Place the book on the table. Insert a sheet with a picture into it perpendicular to the table. Pick up the glue-smeared page and place it on the wrong side of the illustration. Connect the pages gradually, smoothing each section from the center to the edges. In this position, the sheet must be left to dry completely - support it with any objects on both sides.
Step 9
If you forgot to leave some space for a picture, draw it on a sheet of paper the same size as the book. Make another illustration on the back. Measure the indent you left between the edge of the sheet of the book and the text. Using a ruler, draw the same indentation on the picture page. Fold the paper in a line away from you (if you glue the picture to the right page). Lubricate this flap with glue and insert the sheet into the book as deep as possible, closer to the spine. Blot the paper with a dry cloth to remove excess glue and air bubbles.


