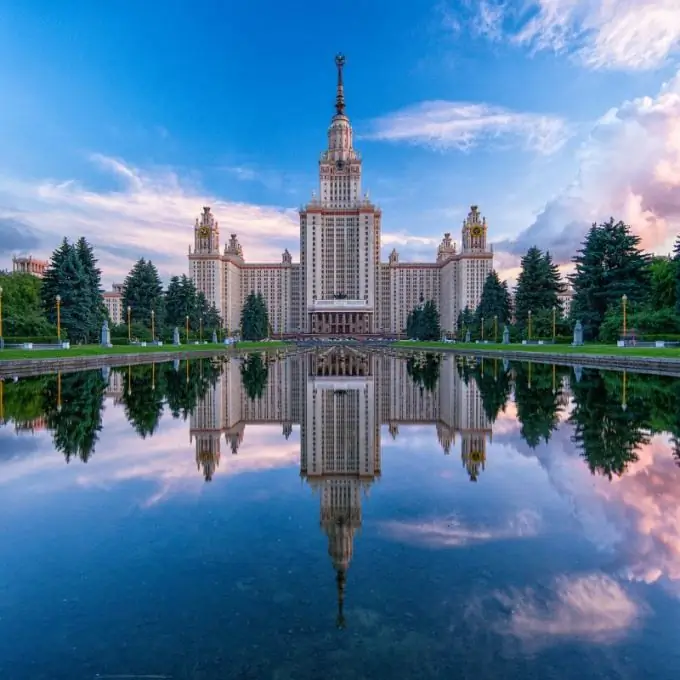
Today you will hardly surprise anyone with photographs processed in visual editors. But images shot in such a way that no processing is required can be proud of both the novice amateur photographer and the venerable professional. Using special lens filters will help you take photos with effects.

It is necessary
- - semi-professional or professional camera;
- - special filters for the lens;
- - instructions for the technique.
Instructions
Step 1
Filters must be used strictly for their intended purpose and in the right place. When choosing, pay attention to the size of the glass to match the size of the lens. Also see if it is possible to use the filter in conjunction with another (there must be a thread on the outer rim).
Step 2
Use Sky Light to create a "warm" tone in your photos. It differs from ordinary UV glass in a pinkish tint, perfectly protects the lens from dust and moisture, prevents the appearance of "haze" from ultraviolet rays in the photograph when shooting objects located in the distance. When photographing cyan or green colors, the SkyLight filter softens the colors to give the image a pleasing tint to the eye. Remember that it is better not to shoot with such a piece of glass in winter: the snow will take on a pinkish tint.
Step 3
To take photographs with effects, use diffraction or star filters. The composition must be built in such a way that a point source of light enters the lens when shooting (for example, shooting the foliage of trees through which the sun's rays break through). In this arrangement, a star-shaped filter will produce a “stars” effect of 2-16 rays in the photograph. When defracted, the light will be transformed into beautiful blurry balls. Please note that their magnitude, like the length of the rays, depends on the aperture. The finished photo will sparkle and look very festive.
Step 4
Diffusion filters will help to create the effect of "blurring" the sharp edges of objects in the photograph. They are suitable for both portrait and landscape photography. Very often, diffusion filters are combined with color filters, which gives the image a soft and unusual look.
Step 5
The "fog" effect allows you to create fog filters. It is made of slightly dull glass and gives a haze to the photograph across the field. This effect looks very beautiful when shooting waterfalls, rivers, forests, romantic images. When purchasing this filter, check its performance on site, because they have different densities.
Step 6
The most magical filters are polarizing filters. They allow you to take photos with the effects of unusually transparent water and unrealistic blue sky. If you are fascinated by photographs, for example, of vacation spots from the Maldives, then with the help of a polarizing filter, you can create such photographs on any coast. These glasses have the property of blocking the reflected rays of the sun, making the color of the depicted objects more saturated. Please note that you need to shoot from the side where there is most of the light. Also use this filter in calm water: waves instead of the sun reflect different parts of the sky.
Step 7
Use color filters to color the photo in different colors. They will give the entire image the shades of your choice. There are also "graduated" filters. They are only half colored and allow you to either balance the colors in the photo (for example, when the grass is much brighter than the sky), or to put emphasis on the required part of the image.


