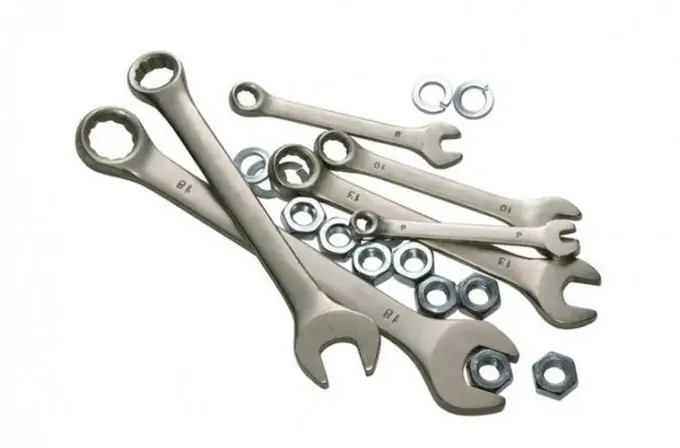
It is difficult to imagine plumbing or automotive repair work without the use of a wrench. But before creating it, the wrench, of course, had to be drawn.

It is necessary
Personal computer, Photoshop program
Instructions
Step 1
Open the program used to draw the wrench and create a new document named "wrench".
Step 2
Open a new layer and using the Elliptical Marquee Tool draw a circle on it.
Step 3
Fill the drawn circle with any color. Then, using the Pen Tool, draw a quadrangular shape in the circle - the future notch in the wrench. Then right-click on this shape and select the Make Selection option from the drop-down menu.
Step 4
Set the value for the radius of the shape to "0". Click OK.
Step 5
Click the option that will cut out the drawn shape from the circle, that is, create a notch. Using the Burn Tool, apply shadows to the image.
Step 6
Stroke the drawing with Layer Style - Stroke. To do this, you need to set the following parameters: normal mode, external position, and color type of stroke.
Step 7
Create another selection: it should go over the existing drawing and be slightly offset to the left. Use the Elliptical Marquee Tool to create a selection.
Step 8
Lighten the selection. The Dodge Tool will help you with this.
Step 9
Draw the second part of the wrench by following all the steps above. Create a selection between these two parts. To do this, you need the Polygonal Lasso Tool. Fill the drawn part with color.


