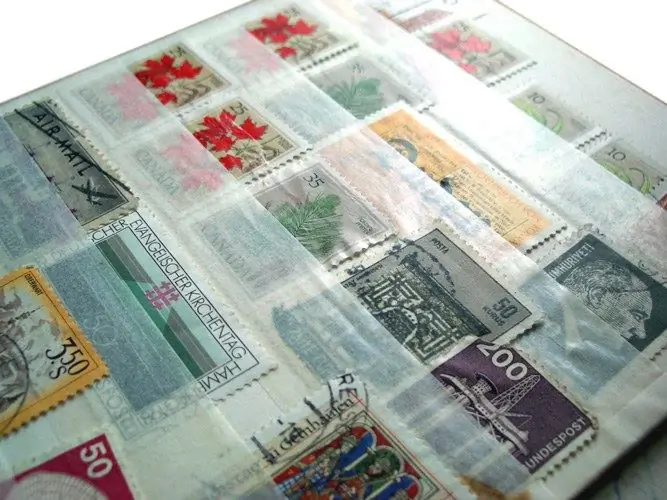
Using the tools of Photoshop, you can turn your own photo or any suitable picture into a postage stamp. To do this, you will need to create perforations around the edges of the image and add a postmark stamp.

It is necessary
- - Photoshop program;
- - image.
Instructions
Step 1
Load the image, which will be converted into a stamp, into Photoshop and, if necessary, crop the excess parts of the picture with the Crop Tool. Using the Layer from Background option from the New group of the Layer menu, create a layer from the background image.
Step 2
Draw the perforated edge of the stamp. To do this, increase the size of the canvas in an open document using the Canvas Size option on the Image menu. After checking the Relative checkbox, enter the doubled width of the future edge in percentage, pixels or centimeters in the Width and Height fields.
Step 3
Of course, the perforation can be done on the image layer. But, if you draw it on a separate layer, the mark can be edited at any time by simply replacing the picture. To create a new layer use the Layer option in the New group of the Layer menu. Turn on Paint Bucket and fill the layer with the color that the edges of the stamp will be painted with. Most often white or light yellow is used in this capacity. Move the filled layer under the layer with the picture using the mouse.
Step 4
Using the Reveal all option in the Layer Mask group of the Layer menu, add a mask to the layer with the edges of the mark. Turn on the Brush Tool and set the Hardness parameter in the tool settings to the maximum value. Apply a series of semi-circular brush marks to the mask along the edges of the layer. Make black as the main color, and place the brush on the layer so that only half the diameter of the tool is superimposed on the image. In order to get even perforations, turn on the grid using the Grid option of the Show group of the View menu and place prints along the lines that are near the edges.
Step 5
The stamp is almost ready, it remains to add the stamp imprint. Turn on the Pen Tool in Paths mode and double-click on the document to place two anchor points. With the Convert Point Tool, bend the resulting line to make a curve.
Step 6
Create a new layer and add a stroke to the created wavy line on this layer. To do this, select the Brush Tool and adjust the diameter of this tool, which will match the thickness of the stroke being created.
Step 7
In the Paths palette, select Stroke Path from the context menu. Go back to the Layers palette and duplicate the stroke layer twice using the Duplicate Layer option on the Layer menu. Using the Move Tool, move the copies of the layer down so that you get a wavy stamp imprint, consisting of three lines.
Step 8
Save the resulting stamp in psd format so that you can insert any other image into the file. Use the Save As option on the File menu to save.


