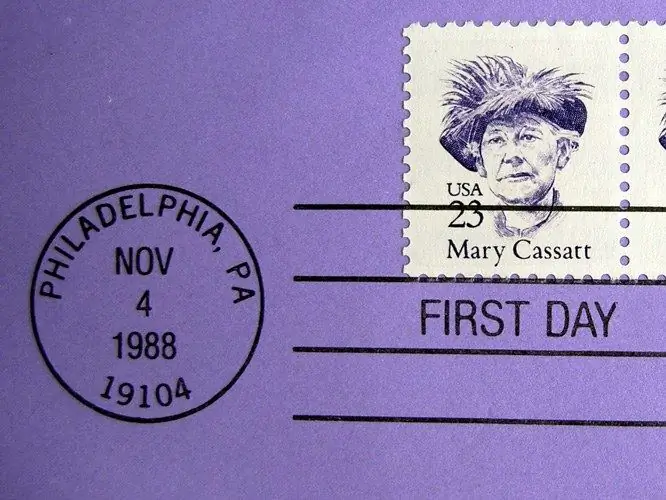
A realistic looking round stamp print can be created using Photoshop. For a quick result, ready-made brushes are suitable, and for drawing a print from scratch - the Ellipse Tool and the Horizontal Type Tool.

It is necessary
Photoshop program
Instructions
Step 1
Even an inexperienced Photoshop user will be able to create a round stamp impression with a ready-made brush. Insert a transparent layer into an open document using the Layer option in the New group of the Layer menu, or create a new file using the New option on the File menu.
Step 2
Turn on the Brush tool and load the stamped brush. To do this, open the brushes palette and click on the button in its upper right corner. Open the file with the brush using the Load Brushes option, adjust the size of the impression by changing the Master Diameter parameter, and select the appropriate color for printing.
Step 3
Click with a custom brush on an empty layer. To create the effect of an incompletely printed stamp, apply the Spatter filter from the Brush Stroke group of the Filter menu to the image.
Step 4
Stains appeared on the print as a result of the filter. Select them with the Color Range option of the Select group and delete them by pressing the Delete key.
Step 5
To create a round stamp from scratch, you need to add a new layer to the document and turn on the Ellipse Tool in Paths mode. Draw a circle with the selected tool while holding down the Shift key.
Step 6
Stroke the created path. To do this, turn on the Brush tool and adjust the thickness of the stroke by changing the diameter of the brush. To slightly blur the edges of the print lines, set the Hardness parameter to about ten percent.
Step 7
Open the Paths palette and create a stroke with the Stroke Path option from the context menu.
Step 8
Write along the print circle. To do this, turn on the Horizontal Type Tool, click on the drawn circle and enter the text. To move the text to the center of the print, use the Free Transform Path option on the Edit menu. Reduce the size of the circle along which the label is located by moving the borders of the transformation frame.
Step 9
If necessary, add a short horizontal lettering in the middle of the print. To do this, remove the layer from the Paths palette, click on the empty area in the center of the print and enter your text.
Step 10
The round stamp is ready. If you are going to process it with the Splatter filter, convert all text layers to a raster using the Type option of the Rasterize group of the Layer menu. Go to the topmost of the caption layers and apply the Merge Down option from the Layer menu.


