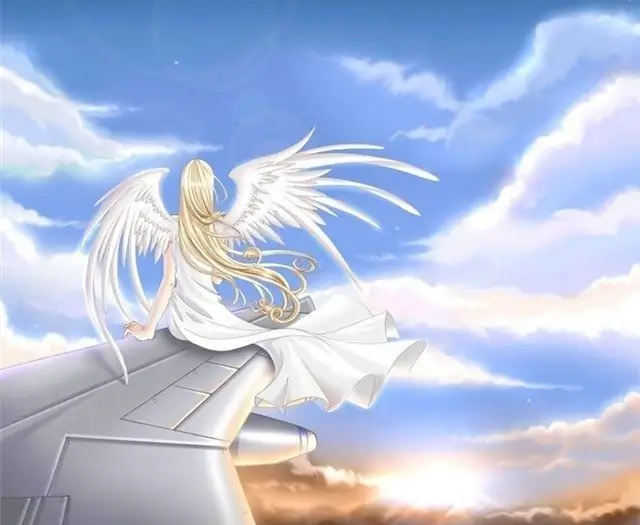
The angel is depicted as a child or adult with wings, sometimes even in the form of an animal. You can draw this character in different ways. It all depends on the style in which the work will be done. For example, in anime and manga, the angel must have big eyes. But the basic features will be almost the same for any feed.

It is necessary
- - well sharpened pencil;
- - eraser;
- - ruler;
- - compasses;
- - paper.
Instructions
Step 1
Start with a schematic drawing of an angel. At this stage, you need to sketch out the main elements of the drawing using the simplest geometric shapes. Draw a vertical line with a ruler - the middle axis of the angel's figure.
Step 2
At the top of the line, draw a circle with a compass or freehand - the future face. So that no trace of the compass remains on the paper, you can stick it into the eraser and continue working. Leave some neck room on the vertical line. Draw the angel's arms with straight lines, bent at the elbow, as in prayer.
Step 3
Draw wide, long sleeves and shoulders with smooth and rounded lines. On both sides of the vertical line, depict the palms of the angel folded towards each other. Tuck the edges of the sleeves. Draw the lines of the neck from the shoulders to the circumference of the head.
Step 4
Draw the hair, focusing on the outlines of the face. Usually the angel is depicted with short curly hair - a boy, or a girl with long curls. Draw a halo above the head using two ovals. To prevent the drawing from being too symmetrical, draw it at an angle.
Step 5
Draw a horizontal line inside the circumference of the head. Mark the places for the eyes and eyebrows around this line. Draw a small nose and lips on the vertical line. Detail the eyes, eyelashes and eyebrows of the angel. Add highlights to the eyes. If you are drawing a small child, then the cheeks can be made a little plump.
Step 6
Draw the bottom of the long dress. The angel's bare feet should be visible from under it. If you find it difficult to draw them, leave them as they are. Before proceeding with the wings, erase everything unnecessary in the picture with an eraser. Use a ruler to draw the lines of the spread wings. Draw the feathers in detail, making them smaller towards the bottom.
Step 7
Take a look at the picture and make the final edits. Erase all construction lines. Add shadows to the drawing using hatching, slightly touching the pencil to the paper. Now the angel is ready.


