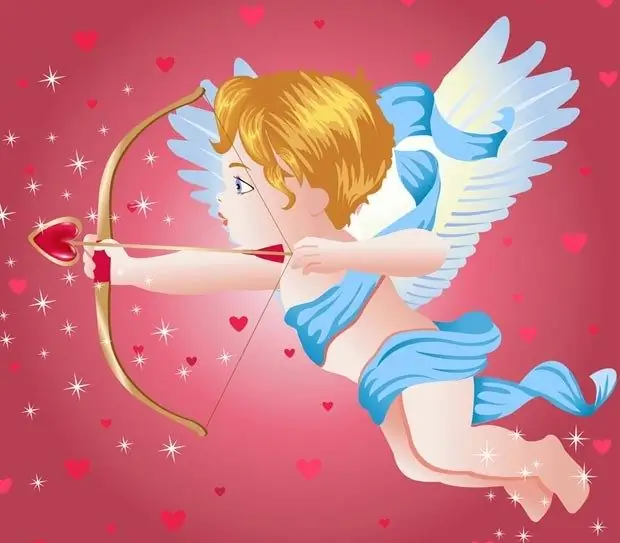
An angel is a spiritual being who expresses the will of God and has supernatural powers. Painters of the past painted angels in the form of beautiful youths in white capes with fluffy wings and a halo over a curly head. Today, with the advent of the fantasy and anime genres, images of angels have undergone significant external changes. Many artists paint adorable angel girls, angel children, and even animals.

It is necessary
- - paper;
- - pencil;
- - eraser.
Instructions
Step 1
Choose a character that suits your taste or suits your painting. Of course, if you want to get busy with drawing, you need to learn how to portray completely different characters, especially since the principle of working on a sketch is the same.
Step 2
At first, draw, looking at the artwork that you like. Place the picture in front of you. Mark on a blank sheet of paper the dimensions of the angel's figure, that is, all the extreme points that will help you orient yourself in proportions.
Step 3
Break the drawing into several simple shapes that make up any image. Draw an oval for an adult's head or a circle for a similar part of a child's body. Look at the picture and find shapes that look more like a model. Build a figurine from circles, ovals, squares, rectangles and lines. Mark the joints with small circles.
Step 4
Do not forget that the structure and proportions of the body of children differ from the parameters of an adult. The little angel is a plump, charming creature. Combine all the components into a harmonious figure. Erase the wrong lines and try again.
Step 5
Angel wings are also painted in different ways. Depict them folded or unfolded, the way you want them according to the design of the picture. Keep track of the symmetry of the work, use a ruler. Mark each feather on the wing with a stroke.
Step 6
At this stage, you need to draw the angel's clothes and shoes, his hair. Do not focus on details yet, work schematically. Try to make sure that when you look at the sketch you do not have the feeling that it is incorrect and disproportionate.
Step 7
Use construction lines to make your work easier. Draw a rounded cross inside the head oval, mark the place for the eyes on its horizontal line, and for the nose and mouth on the vertical line. Draw eyebrows above the eyes, outline the contours of the hair.
Step 8
Work on the angel's body, clarify the position of the limbs and outline the muscles. The whole drawing should "emerge" gradually. Add strokes in one place, then in another. Don't forget to look at the original.
Step 9
When you realize that the work on the drawing is finished, add volume to the figure of the angel with chiaroscuro. Leave the convex illuminated places white, those that are in the shadow, shade with light short strokes of the pencil. Pay special attention to facial features and hair curls. Highlight the drape of your garment.
Step 10
Move the drawing further and look at it, comparing it with the original. Correct mistakes and put the finishing touches on your work.


