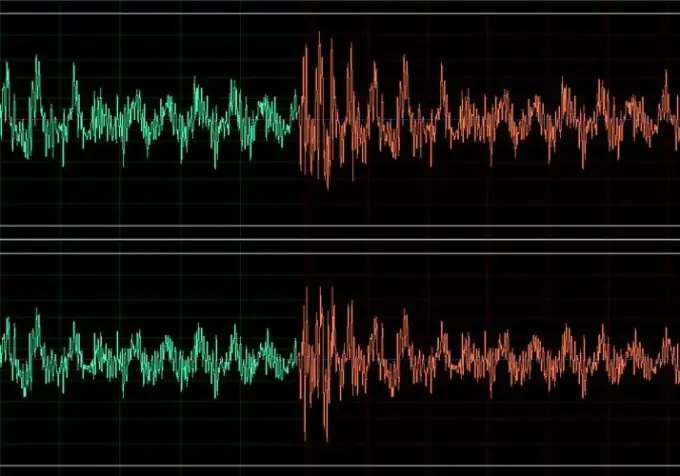
In the process of working on the soundtrack of a presentation or video, it becomes necessary to create a musical cut. Of course, if the program in which you are working makes it possible to load several sound files into the project and perform all the necessary actions with them, the easiest way is to do just that. If you absolutely need a ready-made audio file with slicing, create it using an audio editor.

It is necessary
- - Adobe Audition program;
- - files with music.
Instructions
Step 1
Open the files to create slices in Adobe Audition. If you already imagine the order in which the pieces of music will follow each other, open the file containing the first piece with the Open option of the File menu. Open all other files using the Open Append option found in the same menu. To import audio from CD, use the Extract Audio from CD option.
Step 2
All that is left to do after downloading the files is to remove unnecessary fragments. To do this, select the section of the sound that you are going to delete and remove it with the Delete key.
Step 3
To delete the selected fragment of the loaded sound, you can use the Mute option from the Edit menu. At the same time, a few seconds of silence will remain in place of the deleted fragment, which is quite convenient if you need to additionally process the beginning and end of each fragment of which the cut consists.
Step 4
In order to smoothly decrease the volume of the sound at the end of the cut fragment, select the section during which the volume will decrease. Use the Amplify / Fade option in the Amplitude group of the Effects menu to open the settings window and switch to the Fade tab.
Step 5
Uncheck the View all settings in dB checkbox and check the Lock Left / Right checkbox to get the same volume change in both channels. Set Initial Amplification to one hundred percent and reduce Final Amplification to zero.
Step 6
If you need to process the beginning of a fragment in a similar way and get an increase in volume from silence to normal sound, select the section during which all this will happen and reduce the Initial Amplification value to zero. Set the Final Amplification parameter to one hundred percent.
Step 7
Remove long silences between fragments manually or using the Delete Silence option from the Edit menu.
Step 8
Save the resulting cut using the Save As option from the File menu.


