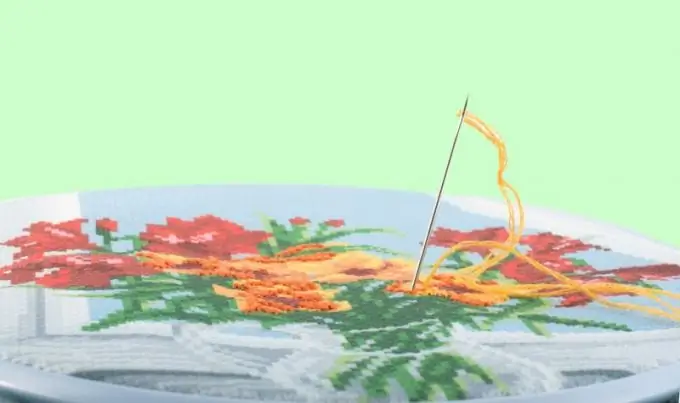
Despite the fact that there is no shortage of embroidery patterns, over time you may want to create a pattern yourself, for example, to depict your favorite photo or image you like. After all, there are not always suitable paintings on sale. One of the free programs for creating embroidery patterns can help with this.

It is necessary
- - a computer
- - EmbroBox program
- - the image you like
Instructions
Step 1
Download EmbroBox, it's free and weighs less than 2 MB. It is convenient in that it allows you to select specific shades of threads and calculate their length. You can also find out the size of the future work. Thus, you will calculate in advance how much it will cost you to buy a canvas and the necessary threads.
Step 2
Run the program and start entering data. First, the program will ask you to enter the number of filament folds you are using. Enter a number and click Next. In the next step, count how many cells are in 10 cm of your canvas, enter the result and also click "Next". Indicate the cost of one skein and its length.
Step 3
The calibration window will open - to determine the size of the canvas cells. Attach the canvas to the screen and align it with the one on the monitor. Use the "Zoom out" and "Larger" buttons if necessary
Step 4
Now download the image from your computer hard drive. It must be a picture in jpeg, bmp or.gif"
Step 5
>
A large window will open where you will see the original image, its scheme, a preview of the result, a color table, etc. You will find out the number of cells and the size of the finished painting horizontally and vertically. In the central part there is a diagram, where each color is indicated by its own icon. Below is the name of the required skeins of DMC floss, the number of skeins and the total cost. There are buttons on the toolbar at the top - with the help of which, if necessary, change the data entered at the beginning
Step 6
If everything suits you, print out the embroidery design along with the color designations. Click Print on the toolbar. A window with settings will open. Specify the size of the cells of the scheme, indents from the edges of the page. Before printing the scheme, save it in wmf format: click "Export", select a folder and enter a file name, click "Save". Print the Legend Color Chart separately. To do this, select "Option 2" in the appropriate box - then the designations will be in Russian. Click "Export" and save the "Legend" to the desired folder. Print it out.


