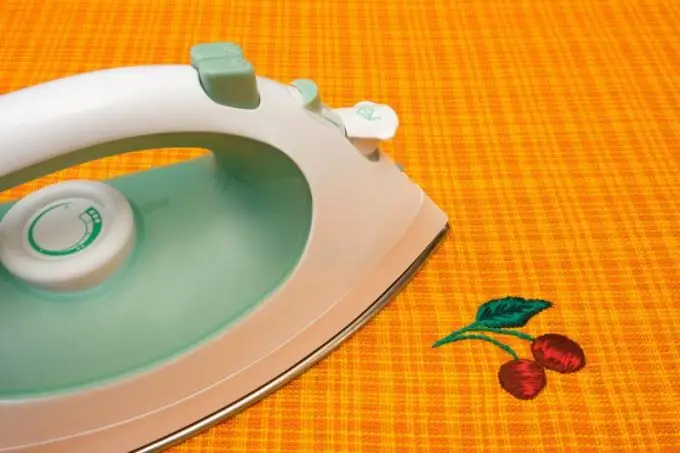
The process of thermal transfer of a drawing will appeal to all family members, allowing everyone to create their own images on the basis of fabric materials. And the factory texture will remain unchanged even after washing the product in the washing machine.

It is necessary
- - paper for thermal transfer of the image;
- - iron;
- - the cloth;
- - jet printer;
- - stable flat surface.
Instructions
Step 1
Use any program to transfer the image. If it is asymmetrical or contains text, enable Flip horizontal in the printer driver. This option assists in the correct placement of the thermal transfer image.
Step 2
Open the printer driver dialog box to print the image. Select 360 dpi Ink Jet Paper as the media type, setting the resolution to 360 dpi.
Step 3
Insert a sheet of thermal transfer paper into the printer. Be careful to position the printed side correctly. The paper mark should be in the upper right corner. Make sure that the sheet is not curled or bent at the corners. Set the adjusting lever for the paper thickness to the value "0". Print the picture.
Step 4
Cut out the resulting image, leaving 0.5 cm along its edges. Preheat the iron to the maximum temperature and leave it on. Disable the steam function. Spread a piece of any fabric on a flat surface so that its edges hang down. Smooth out by removing all wrinkles.
Step 5
After making sure that there are no seams on the spread fabric, place the item on which you plan to transfer the image. Iron it with an iron. Place the printed image face down on the product, adjust its position so that the drawing lies exactly as you intended.
Step 6
Try to use only the wider part of the iron for ironing. Starting at the top left corner, slowly move the iron along the top edge of the sheet. While doing this, press down firmly on the iron. The ironing process should take about 30 seconds. Repeat this procedure for the middle and bottom of the sheet, ironing each for 30 seconds. Then, iron the entire surface in a circular motion.
Step 7
After making sure that the edges of the transferred image are well ironed, turn off the iron and put it in a safe place. Wait a couple of minutes for the transfer area to cool down. Then pull the sheet at any corner and remove it from the product.


