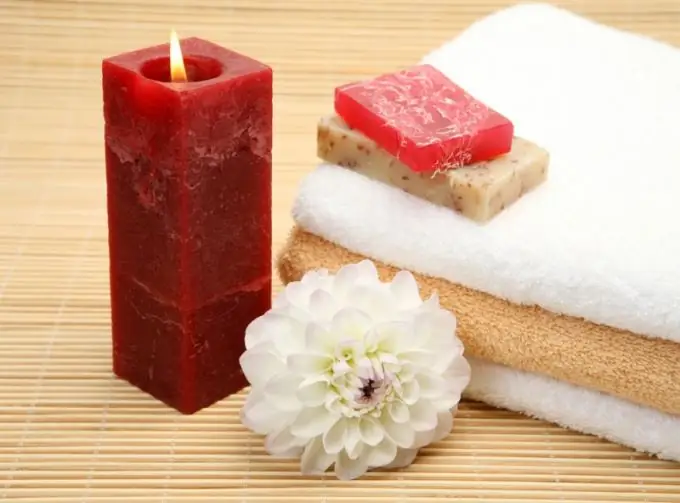
Making a candle on your own is not only interesting, but also useful - it can be used to create a romantic atmosphere in the house, as well as as a souvenir, as decorative elements in the house.

To make a candle at home, you need to prepare the necessary materials and tools:
- household candles, candle stubs or paraffin wax;
- wax crayons or special pigments for coloring;
- cotton thread for wicks;
- form for candles;
- sticks for attaching the wick;
- a vessel for wax and a vessel for a water bath.
The main stages of making a candle
Making a candle correctly is not difficult. Here are the basic steps for making a decorative candle:
-
Wick.
It is made from any cotton thread. Its thickness depends on the thickness of the candle, and its length depends on the height of the mold, plus the necessary tolerances for the formation of the wick and fasteners on the stick. If the candle is colored, you can use a floss. The tight weaving of the wick helps the candle burn evenly, without soot. If the wick turns out to be thin, the candle will go out, and if it is thick, it will smoke. It is advisable to soak it with wax before use.
-
Molds.
You can use any suitable metal or plastic molds (from cookies, yogurt, canned food, etc.), glass bowls, glasses (if the candle remains in them), the main thing is to withstand the mold temperature up to 100 ° C.
At the bottom of the mold, a hole is made into which a wick is pulled, a knot is tied outside, it is needed to reduce the flow of wax. In this case, the candle is poured "from the bottom up" - then you will turn it over. In the case of glasses, you need to make the end of the wick heavier with a heavy stone, a shell or a special fixator - the candle is poured from top to bottom.
On the other hand, the wick is tied on a stick that is held at the edges of the mold. The wick should be positioned vertically in the middle of the mold.
-
Wax or paraffin.
Fragments of old candles, wax, paraffin or other materials for a candle are dipped into a container in which heating will be carried out. It is desirable that the starting material is uniform in color. The container should have a convenient spout for pouring out the wax, such as a flattened tin can.
To color candles, you can use wax crayons, special candle pigments, or any other fat-soluble dyes. Crayons, for example, are rubbed finely and dissolve in wax. Water-soluble paints will flocculate and cloud the candle. When everything has dissolved to a homogeneous mass, you can pour wax. If you don't completely dissolve the paint, you will get a varied pattern on the candle.
-
Casting.
The form must be lubricated from the inside with a thin layer of vegetable oil. First, the bottom is covered with wax, then after the bottom hardens - everything else, so that as little wax as possible flows out through the wick hole. The candle freezes at room temperature. There is a depression near the wick, when the wax cools down - it is better to leave a little material in reserve. After cooling, the knot at the bottom of the mold is untied and the candle is taken out.
About 1 cm of the wick is left on top, the rest is cut off. That's it, the candle is ready!
The stitches on the candle can be removed by running your fingers over them with hot water.
You can add aromatic oils, shells, coffee beans, fruit crusts, pebbles, pieces of glass to candles and whatever your imagination tells you. In addition, you can use special markers-contours for drawing on candles and special stickers.
Among other things, in specialty stores you can buy ready-made wicks, candle gel for floating candles and much more.


