An Orthodox icon is often called an image. In icon painting, there are a number of canons that must be observed. Icon painters of the old school painted images on boards covered with a special composition. Nowadays, icons are often made from a variety of materials. If you decide to try your hand at this ancient art, stick to historical technology.

It is necessary
- - board;
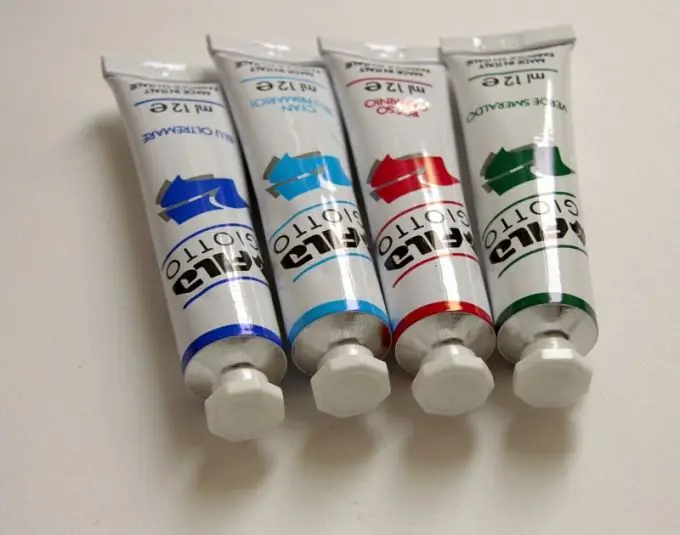
- - tempera paints;
- - soil;
- - bone or skin glue;
- - gauze;
- - brushes;
- - sandpaper.
- - brushes of different thickness.
Instructions
Step 1
The image board should be flat and well dried. The most accessible and easy-to-handle linden board, but conifers, such as pine, spruce or cypress, were often used. If there is no piece of a suitable size, pick up several uniform pieces. Fit them together and glue them.
Step 2
Please note that the image is in the central part of the icon, which is a natural depression. The depression is called the ark. The frame field protrudes a few millimeters above it. Sandpaper can be used for surface treatment. There should be no noticeable protrusions or depressions, chips, etc.
Step 3
Saturate the board with skin or bone glue. Glue a piece of linen cotton fabric over it. From what is most often found in retail outlets, gauze is suitable. It must first be soaked in glue so that it is properly soaked. This fabric is called pavoloka. It must dry before you start the next step.
Step 4
Prepare levkas. It is made from pure chalk. It is best to purchase it from a store that sells art supplies. Chalk must be sieved and elutriated in water.
Step 5
Weld the glue. The technology for preparing glue of animal origin is approximately the same. Soak the glue sticks in water and let it swell. Hold the glue in water for three hours, then put it in a water bath. Warm up to about 70 ° C and start gradually adding chalk there. Remember to stir the contents of the pot. As a result, you should end up with something that looks like sour cream. This is called levkas. You can add a little flaxseed oil or honey to it.
Step 6
Let the levkas stand at room temperature for about a day. Apply it in a thin layer to the board using a wide brush. Let the board dry and smooth the layer with sandpaper. Apply another 10-15 coats in the same way. In this case, the soil should not turn out to be too thick, it is only about a millimeter.
Step 7
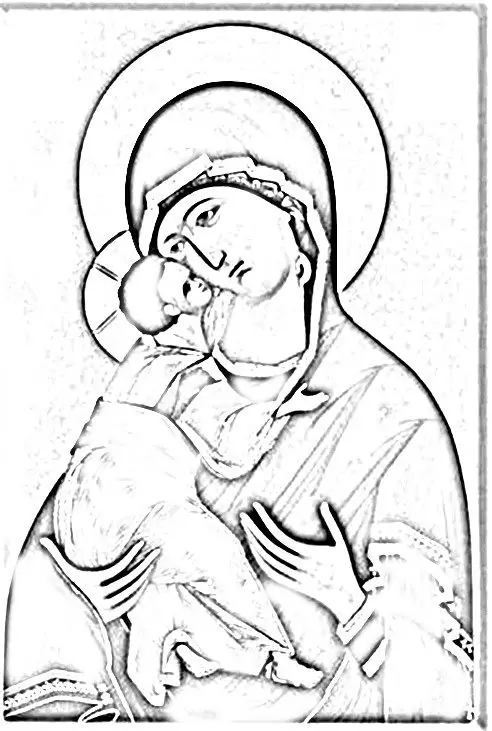
Apply a drawing on the prepared levkas. This can be done in two ways. The old-school masters drew directly on the blackboard with charcoal or black paint. If you are not so sure of yourself yet, make a life-size drawing on paper. Computer technologies even allow you to find an icon you like, enlarge it and print it in whole and in parts.
Step 8
Transfer the image to the board. This can be done in much the same way as embroiderers transfer a pattern to fabric. Make punctures along the contours every few millimeters, put the paper with the pattern on the board in the same way as the image will be located, and sprinkle with graphite powder along the contour. You can translate the drawing through carbon paper.
Step 9
If you nevertheless decide to draw the image yourself, practice first on a piece of paper. Draw a frame that matches the proportions of the board. Build the image. It is most convenient to start with a circle. Find the center of this circle. Draw an isosceles triangle with apex at the center of the circle. The base of this triangle is the bottom line of the icon. Its length depends on what kind of image you are going to paint. If this is the Mother of God, then the line will be long, you need to step back a little from the edges of the frame. The original circle will remain on the finished icon, this is a halo.

Step 10
Sketch out the main details. These are the faces and general lines of the figure. Please note that in the Orthodox icon the proportions of the child's body are exactly the same as those of an adult, that is, the Infant's head will be equal to approximately 1/7 or 1/8 of the total length of the body. At this stage, sketch out the main folds of the clothing.

Step 11
Draw the eyes, nose and mouth. More precisely mark the folds of the clothes, as well as the hair. Pay attention to the details, each saint has his own hallmarks. If a saint is holding an object on a model icon, it should be in your drawing as well.

Step 12
Color the image. Use tempera paints for this. The icon painters of the old school made them themselves, and this happens even now in professional workshops. But tempera is sold in art supply stores, and it is quite possible to use it. Please note that the icons are usually clean and bright colors. There are no shades, and, for example, folds of clothes are transferred by applying strokes with other paint.


