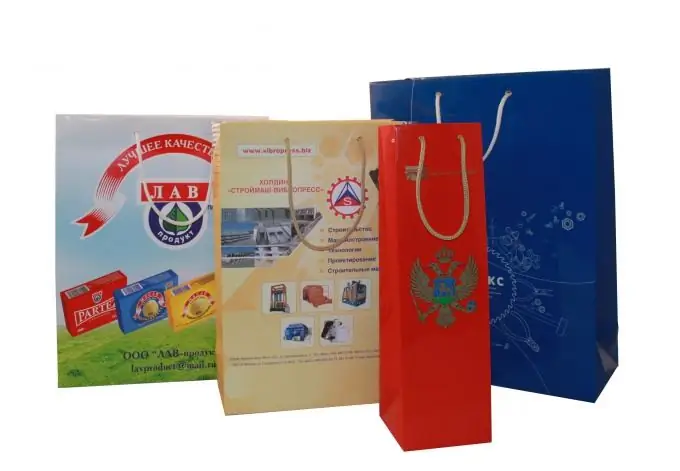
The paper bag is one of the best advertising media out there. In addition, this is a fairly cheap way to advertise your company and products. The applied image on the bags is not erased for a long time, retains its colors. But is it possible to self-print the bags at home?

It is necessary
Paper bags, rubber stationery erasers, several wooden pens for stamps, glue, napkins, sheets of paper, colored pads for printing, ink of various colors, foam sponge, stationery knife, scissors, pencil
Instructions
Step 1
Best of all, the drawing (logo, print, text) that you decide to put on the bags at home is obtained on paper rather than plastic. Drawing on a paper bag lasts longer, it turns out to be more accurate. Prepare a plain paper bag and the required stationery for printing on it.
Step 2
To put a word, letter, small drawing on a bag, you need to make a seal in advance. Draw the desired image on a piece of paper. Now transfer it to a rubber stationery eraser for erasing writing with a simple pencil. With another eraser, erase the lines that you marked incorrectly. The drawing should be in a mirror image if it is words and letters.
Step 3
Use a stationery knife to cut the pattern on a rubber eraser along the contour. Discard the rest of the gum. You will get a blank shape of the desired letter or figure. Inside the drawing, cut through the lines with a knife that you would like to show when printing.
Step 4
Glue the finished blank form onto the wooden stamp handle. The print is ready. Pour the desired mascara color onto the pad (for stamps). Blot the print on the pillow. On a piece of paper, check what the drawing looks like, and if everything is in order, transfer it to the bag. If you need to supplement the overall drawing on the package with its other parts, letters, make the following seals in the same way. Thus, you can print the desired image not only on bags, but also on postcards, invitations, fabric, wall newspapers, walls in the room.
Step 5
Another way to apply a larger design to a paper bag is stencil. To do this, either take ready-made stencils from a stationery store, or prepare them yourself. On a piece of paper, use a simple pencil to draw the pattern you would like to see on the bag. Use a utility knife or blade to cut out the excess paper inside the design.
Step 6
Place the finished stencil on a paper bag. Blot a sponge with colored mascara and blot the stencil with it. When you remove it, the stencil drawing will remain on the bag.


