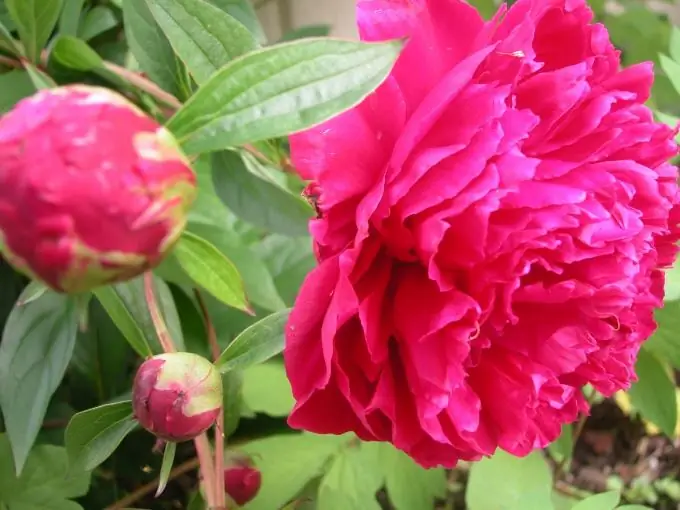
The Dutch painters were very fond of luxurious lush peonies. These flowers are present not only in still lifes, but also decorate portraits and genre scenes. Peony also occupies a special place in the culture of a huge ancient country located quite far from little Holland. Since ancient times, Chinese masters have depicted a peony, endowing it with magical properties. A peony can be painted in any technique, but it is better to take paints that can convey the subtlety and tenderness of shades. These can be watercolors or pencils.

It is necessary
- Paper
- Simple pencil
- Watercolor pencils or paints
- Brush
- Picture of a peony
Instructions
Step 1
If you are going to draw a single peony, it is best to take a square sheet of paper. For several colors, a regular sheet is suitable. Its location will depend on how you intend to place the flowers. If the peonies are in a vase, the drawing will look better on a vertical sheet, if you are drawing a bush or part of a garland, lay the sheet horizontally.
Step 2
For a single flower, draw an oval. Its width depends on what angle you look at the flower. If you see a flower in front of you, the oval will be very wide, almost a circle. Try to forget for a while that there are some petals inside this oval, try to convey the proportions of the flower as accurately as possible.
Step 3
Look at the line that defines the oval of the flower. It all consists of rather long teeth. Mark these teeth outside the oval. Connect them with arcs to the oval itself. If you are drawing a flower with the center right in front of your eyes, the teeth will be uniform throughout the oval. If the flower is turned slightly at an angle, then draw longer and wider teeth on the part of the flower located closer to you, and shorter and narrower on the opposite side.
Step 4
Find the center of the flower. If the oval is wide, the center of the flower will roughly coincide with its center. For an angled flower, the center will be closer to the edge farther away from you. Mark the center of the flower with a dot. Draw a small jagged ring around it. With barely noticeable strokes, connect the inner points of the point of the ring to the middle. Sketch another 2-3 larger toothed rings around the first. These lines will serve as a guide, so they should be barely noticeable.
Step 5
If you're going to paint a flower with watercolors, it's time to fill it. It is better to make it in a contrasting, but light tone. Wet the sheet, dip a foam sponge in the paint of the desired color, make a smear and spread the paint all over the sheet, leaving a white sketch of the flower. When drawing with watercolor pencils, the background can be done later.
Step 6
Choose a basic color for the flower. Fill the sketch with an even, pale layer of your chosen paint. After that, start drawing the flower. With the same paint, but thicker, draw a serrated ring around the middle and the outline of the flower. Taking a slightly less thick paint or paint of a slightly different (but close to the main) tone, circle the concentric rings in the middle of the oval. Start drawing the petals from the second concentric ring to the one around the middle. To do this, take a thick watercolor brush. Start the line with the brush almost flat, and at the end of the line, it should give a sharp tip, and, accordingly, a thin line.
Step 7
The second row of petals is drawn in the same way. The edge of each radial stroke, located at the wider ring, should be wider and slightly lighter. You can alternate paints - make several radial strokes with one paint, and between them place several drawn with another paint, similar in tone and of the same intensity.


